Moving Average Trading Strategy

Author: ChaoZhang, Date: 2023-11-13 11:17:51
Tags:

img

Overview

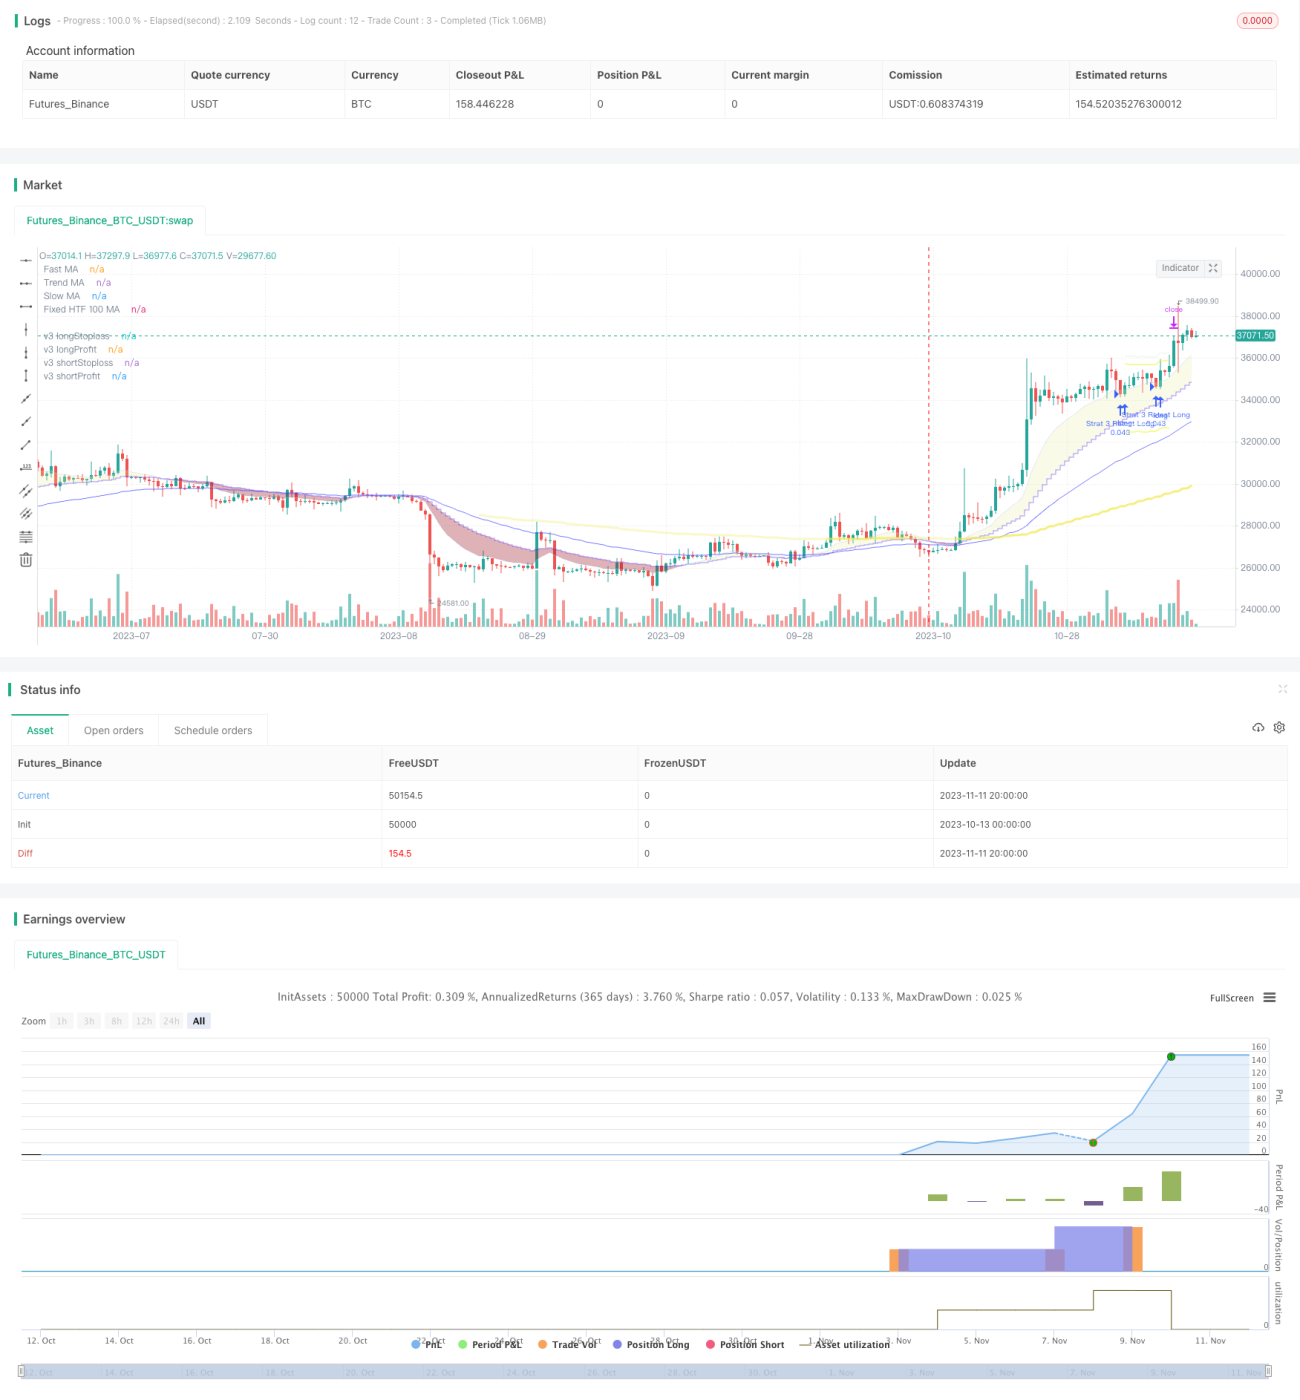
This strategy is based on moving average crossover system. By calculating moving averages of different periods and using crosses between them as trading signals, supplemented by RSI indicator for signal filtering, it improves profitability while lowering trading frequency.

Strategy Logic

  1. Calculate fast, medium and slow moving averages. Fast MA and medium MA form the trading channel.

  2. Go long when price crosses above fast MA, and go short when price crosses below fast MA.

  3. Trend direction judged by: fast MA > medium MA is bullish, fast MA < medium MA is bearish. Only trade in the direction of the channel.

  4. Slow MA acts as trend filter: only go long above slow MA and go short below slow MA.

  5. RSI filter: only go long above RSI buy level and go short below RSI sell level.

  6. ATR based stop loss and take profit.

Advantages

  1. Flexible MA combinations adaptable to market changes.

  2. RSI filter avoids false breakouts and improves signal quality.

  3. ATR dynamic SL/TP lowers risk of maximum drawdown.

  4. Dual filters by slow MA and RSI avoid unnecessary trades.

Risks

  1. MA crossovers may lag price actions.

  2. Dual filters may miss some trading opportunities.

  3. ATR SL could exceed normal SL range.

  4. Poor parameter tuning leads to too frequent or too sparse trades.

Corresponding risk management measures:

  1. Use shorter MA periods to reduce lag.

  2. Adjust filter parameters to maintain decent trade frequency.

  3. Tune ATR multiplier to keep SL within acceptable range.

  4. Optimize parameters to find the best combination.

Optimization Directions

  1. Test combinations of different MA types.

  2. Optimize MA periods.

  3. Optimize RSI parameters.

  4. Optimize ATR SL/TP coefficients.

  5. Optimize filter parameters to find best filter strength.

Conclusion

This strategy combines MA, RSI and ATR, which through parameter optimization, can generate trading systems adaptable to different markets. Compared to single indicator strategies, it effectively reduces false signals and improves profitability. But no technical strategies can completely avoid market risks. Strict risk management practices are required as safeguards.


/*backtest
start: 2023-10-13 00:00:00
end: 2023-11-12 00:00:00
period: 12h
basePeriod: 15m
exchanges: [{"eid":"Futures_Binance","currency":"BTC_USDT"}]
*/

//@version=5
// *** USE AT YOUR OWN RISK ***

// FIRST: This is MASSIVELY derived from other people's work... 
// I honestly hadn't found a mixed indicator MA strategy tool that does what this now does.  If it is out there, apologies!!

// This tool can help backtest various MA trends; can factor in RSI levels (or not); and can factor in a fixed HTF MA (or not).
// You can apply a 'retest entry' or a 'breakout entry', and you can apply various risk mgt for SL/TP orders based on: 
// 1) No SL/TP or 2) a fixed %, or 3) dynamic ATR multipliers.

// For those of us who love indicators & analysis, and make no money... and LOVE every day of it :)
// Thank you, tack, salute!

strategy('Negroni MA & RSI Strategy', shorttitle='Negroni MA & RSI Strategy', overlay=true, pyramiding=3, default_qty_type=strategy.percent_of_equity, default_qty_value=3, initial_capital=100000)

// === Inputs ===
//
// Retest or Breakout Strategy
s1 = input(true, title='Retest Entry strategy', group="Trade entry strategy", tooltip = "RETEST entry strat: price crosses UNDER FastMA INTO the 'MA trend zone'. CONFLUENCE checks: 1) Fast MA > Trend MA > SlowMA; AND 2) Price (close) is above fixed HTF MA; AND 3) RSI is above your chosen level. [and vice versa for shorts]. You can effectively 'disable' confluence checks (see info tooltips when selecting your options).")
s2 = input(false, title='Breakout Entry strategy', group="Trade entry strategy", tooltip = "BREAKOUT entry strat: price crosses OVER FastMA OUT the 'MA trend zone'. CONFLUENCE checks: 1) Fast MA > Trend MA > SlowMA; AND 2) Price (close) is above fixed HTF MA; AND 3) RSI is above your chosen level. [and vice versa for shorts]. You can effectively 'disable' confluence checks (see info tooltips when selecting your options).")

// Stop-loss and Take-profit Inputs
v1 = input(false, title='Strat 1) No SL/TP', group="Risk Mgt strategy", tooltip = "Long trades are closed when the LOW crosses back UNDER the fastMA again, and shorts are closed when the HIGH crosses back OVER the fastMA again. (You can select more than 1 strategy.)")                                        
v2 = input(false, title='Strat 2) Static % SL/TP', group="Risk Mgt strategy", tooltip = "Your SL/TP will be a fixed % away from avg. position price... WARNING: You should change this for various asset classes; FX vol is not the same as crypto altcoin vol! (You can select more than 1 strategy.)")
v3 = input(true, title='Strat 3) Dynamic ATR SL/TP', group="Risk Mgt strategy", tooltip = "Your SL/TP is a multiple of your selected ATR range (default is 50, see 'info' when you select ATR range). ATR accounts for the change in vol of different asset classes somewhat, HOWEVER... you should probably still not have the same multiplier trading S&P500 as you would trading crypto altcoins! (You can select more than 1 strategy.)")

v2stoploss_input = input.float(2.5, title='2) Fixed Stop Loss %', minval=0.01, tooltip = "e.g. Avg. long BTCUSDT position price is $23000, and SL is 2.5%. The SL price is: 23000 x (1-0.025) = $22425") / 100
v2takeprofit_input = input.float(3.0, title='2) Fixed Take Profit %', minval=0.01, tooltip = "e.g. Avg. long BTCUSDT position price is $23000, and TP is 3.0%. The TP price is: 23000 x (1+0.030) = $23690") / 100

atrLength=input.int(defval=50, title= '3) ATR Length', minval=1, tooltip = "Standard ATR length is usually 14, however... your SL/TP will move POST entry, and can tighten or widen your initial SL/TP... for better AND usually for worse! Find a trade (strat 3) on the chart, look at the SL/TP lines, now change the number to 5, you'll see.")
v3stoploss_input = input.float(defval=2.0, title= '3) ATR SL Multiplier', minval=1, tooltip = "e.g. Avg. long BTCUSDT position price is $23000, and ATR SL mutliplier is 2.0. Lets say ATR is 200 on this day, then SL price is: 23000 - (2 x ATR) = $22600") 
v3takeprofit_input = input.float(defval=2.5, title= '3) ATR TP Multiplier', minval=1, tooltip = "e.g. Avg. long BTCUSDT position price is $23000, and ATR TP mutliplier is 2.5. Lets say ATR is 200 on this day, then TP price is: 23000 + (2.5 x ATR) = $23500") 

longv2stoploss_level = strategy.position_avg_price * (1 - v2stoploss_input)
longv2takeprofit_level = strategy.position_avg_price * (1 + v2takeprofit_input)
shortv2stoploss_level = strategy.position_avg_price * (1 + v2stoploss_input)
shortv2takeprofit_level = strategy.position_avg_price * (1 - v2takeprofit_input)

longv3stoploss_level = strategy.position_avg_price - (v3stoploss_input*(ta.atr(atrLength)))
longv3takeprofit_level = strategy.position_avg_price + (v3takeprofit_input*(ta.atr(atrLength)))
shortv3stoploss_level = strategy.position_avg_price + (v3stoploss_input*(ta.atr(atrLength)))
shortv3takeprofit_level = strategy.position_avg_price - (v3takeprofit_input*(ta.atr(atrLength)))

// Plots both long and short SL and TP lines (I wasn't good enough to make this only plot the SL/TP conditional on the entry :( )
plot(v2 and v2stoploss_input and longv2stoploss_level ? longv2stoploss_level : na, title = 'Strat 2) long SL', color=color.new(#e7f6e9, 40), style=plot.style_linebr, linewidth=2, title='v2 longStoploss')
plot(v2 and v2takeprofit_input ? longv2takeprofit_level : na, title = 'Strat 2) long TP', color=color.new(#e7f6e9, 40), style=plot.style_linebr, linewidth=2, title='v2 longProfit')
plot(v2 and v2stoploss_input and shortv2stoploss_level ? shortv2stoploss_level : na, title = 'Strat 2) short SL', color=color.new(#ebf951, 40), style=plot.style_linebr, linewidth=2, title='v2 shortStoploss')
plot(v2 and v2takeprofit_input ? shortv2takeprofit_level : na, title = 'Strat 2) short TP', color=color.new(#ebf951, 40), style=plot.style_linebr, linewidth=2, title='v2 shortProfit')

plot(v3 and v3stoploss_input and longv3stoploss_level ? longv3stoploss_level : na, title = 'Strat 3) long SL', color=color.new(#e7f6e9, 40), style=plot.style_linebr, linewidth=2, title='v3 longStoploss')
plot(v3 and v3takeprofit_input ? longv3takeprofit_level : na, title = 'Strat 3) long TP', color=color.new(#e7f6e9, 40), style=plot.style_linebr, linewidth=2, title='v3 longProfit')
plot(v3 and v3stoploss_input and shortv3stoploss_level ? shortv3stoploss_level : na, title = 'Strat 3) short SL', color=color.new(#ebf951, 40), style=plot.style_linebr, linewidth=2, title='v3 shortStoploss')
plot(v3 and v3takeprofit_input ? shortv3takeprofit_level : na, title = 'Strat 3) short TP', color=color.new(#ebf951, 40), style=plot.style_linebr, linewidth=2, title='v3 shortProfit')


// RSI
rsiLength = input.int(defval=14, title = 'RSI length', minval = 1, group="RSI options")
rsiBuyLevel = input.int(defval=55, title = 'RSI Buy signal', minval = 1, group="RSI options", tooltip = "RSI oversold levels are usually 20-30, some like using 50 as support. If you don't care for RSI levels, then set buy signal at 1... i.e always buys!")
rsiSellLevel = input.int(defval=45, title = 'RSI Sell signal', minval = 1, group="RSI options", tooltip = "RSI overbought levels are usually 70-80, some like using 50 as resistance. If you don't care for RSI levels, then set sell signal at 99... i.e always sells!")
src = close
up = ta.rma(math.max(ta.change(src), 0), rsiLength)
down = ta.rma(-math.min(ta.change(src), 0), rsiLength)
rsi = down == 0 ? 100 : up == 0 ? 0 : 100 - 100 / (1 + up / down)


///// Moving average types and variables ////////
// Fast MA
fastMAtype = input.string(title='Fast MA Type', defval='EMA', options=['EMA', 'SMA', 'VWMA', 'HMA'], group="Fast MA options", tooltip = "The 'Fast MA' and 'Trend MA' will form the MA zone from which your entries will trigger.")
maFastSource = input(defval=close, title='Fast MA Source', group="Fast MA options")
maFastLength = input.int(defval=13, title='Fast MA Period', minval=1, group="Fast MA options")
fastMA = fastMAtype == 'EMA' ? ta.ema(maFastSource, maFastLength) : fastMAtype == 'SMA' ? ta.sma(maFastSource, maFastLength) : fastMAtype == 'VWMA' ? ta.vwma(maFastSource, maFastLength) : ta.hma(maFastSource, maFastLength)

// Trend MA
trendMAtype = input.string(title='Trend MA Type', defval='EMA', options=['EMA', 'SMA', 'VWMA', 'HMA'], group="Trend MA options", tooltip = "The 'Fast MA' and 'Trend MA' will form the MA zone from which your entries will trigger.")
maTrendSource = input(defval=close, title='Trend MA Source', group="Trend MA options")
maTrendLength = input.int(defval=32, title='Trend MA Period', minval=1, group="Trend MA options")
trendMA = trendMAtype == 'EMA' ? ta.ema(maTrendSource, maTrendLength) : trendMAtype == 'SMA' ? ta.sma(maTrendSource, maTrendLength) : trendMAtype == 'VWMA' ? ta.vwma(maTrendSource, maTrendLength) : ta.hma(maTrendSource, maTrendLength)

// Slow MA
slowMAtype = input.string(title='Slow MA Type', defval='EMA', options=['EMA', 'SMA', 'VWMA', 'HMA'], group="Slow MA options", tooltip = "The 'Slow MA' acts as confluence i.e. Only triggers 'longs' above this, and only triggers 'shorts' below it. If you don't care for 'Slow MA' confluence, just change the options to match the 'Trend MA' options you've chosen.")
maSlowSource = input(defval=close, title='Slow MA Source', group="Slow MA options")
maSlowLength = input.int(defval=64, title='Slow MA Period', minval=1, group="Slow MA options")
slowMA = slowMAtype == 'EMA' ? ta.ema(maSlowSource, maSlowLength) : slowMAtype == 'SMA' ? ta.sma(maSlowSource, maSlowLength) : slowMAtype == 'VWMA' ? ta.vwma(maSlowSource, maSlowLength) : ta.hma(maSlowSource, maSlowLength)

// Plot MAs and colour-fills inbetween the fastMA & trendMA to make pretty clouds... 
// (if you aren't making art whilst trading, then why even bother!)
fastMAline = plot(fastMA, title='Fast MA', color=color.new(#b9cbef, 60))
trendMAline = plot(trendMA, title='Trend MA', color=color.new(#4b21f3, 50), style=plot.style_stepline)
slowMAline = plot(slowMA, title='Slow MA', color=color.new(#3b3eff, 30))
fill(fastMAline, trendMAline, color=fastMA > trendMA ? color.rgb(232, 234, 163, 70) : color.rgb(155, 17, 30, 60), title='MA Trend Zone', editable = true)


// Fixed 100 MA (e.g. if you are on the 4H, then this will show the 1D 100MA)
fixedMA1type = input.string(title='Fixed MA Type', defval='EMA', options=['EMA', 'SMA', 'VWMA', 'HMA'], group="Fixed HTF MA 1 options", tooltip = "This is the fixed HTF MA used as confluence i.e. Only triggers 'longs' above this, and only triggers 'shorts' below it. If you don't care for HTF confluence, just change the timeframe/options to match the 'Slow MA' options you've chosen.")
ema1FixSource = input(defval=close, title='Fixed EMA Source', group="Fixed HTF MA 1 options")
ema1FixLength = input.int(defval=100, title='Fixed EMA Period', minval=1, group="Fixed HTF MA 1 options")
ema1Res   = input.timeframe(title="Fixed EMA Timeframe", defval="D", group="Fixed HTF MA 1 options")
ema1col     = input.bool(title="Fixed HTF EMA bull/bear colouring", defval=true, group="Fixed HTF MA 1 options", tooltip = "Meh... this can give the fixed HTF MA line a bull/bear colour. Nothing to see here really.")
ema1smooth  = input.bool(title="Smoothed?", defval=false, group="Fixed HTF MA 1 options", tooltip = "Just smoothes the above.")
fixedMA1 = fixedMA1type == 'EMA' ? ta.ema(ema1FixSource, ema1FixLength) : fixedMA1type == 'SMA' ? ta.sma(ema1FixSource, ema1FixLength) : fixedMA1type == 'VWMA' ? ta.vwma(ema1FixSource, ema1FixLength) : ta.hma(ema1FixSource, ema1FixLength)
ema1Step = request.security(syminfo.tickerid, ema1Res, fixedMA1[barstate.isrealtime ? 1 : 0])
ema1Smooth = request.security(syminfo.tickerid, ema1Res, fixedMA1[barstate.isrealtime ? 1 : 0], gaps=barmerge.gaps_on)

plot(ema1smooth ? ema1Smooth : ema1Step, color=ema1col ? (close > ema1Step ? color.rgb(240, 232, 73, 30) : color.rgb(240, 232, 73, 70)) : color.rgb(240, 222, 23, 20), linewidth=3, title="Fixed HTF 100 MA")

// Fixed 200 MA (e.g. if you are on the 4H, then this will show the 1D 200MA)
fixedMA2type = input.string(title='Fixed MA Type', defval='EMA', options=['EMA', 'SMA', 'VWMA', 'HMA'], group="Fixed HTF MA 2 options", tooltip = "This is purely a cosmetic additional feature, for those of us who need more indicators!")
ema2FixSource = input(defval=close, title='Fixed EMA Source', group="Fixed HTF MA 2 options")
ema2FixLength = input.int(defval=200, title='Fixed EMA Period', minval=1, group="Fixed HTF MA 2 options")
ema2Res   = input.timeframe(title="Fixed EMA Timeframe", defval="D", group="Fixed HTF MA 2 options")
ema2col     = input.bool(title="Fixed HTF EMA bull/bear colouring", defval=true, group="Fixed HTF MA 2 options", tooltip = "Meh... this can give the fixed HTF MA line a bull/bear colour. Nothing to see here really.")
ema2smooth  = input.bool(title="Smoothed?", defval=false, group="Fixed HTF MA 2 options", tooltip = "Just smoothes the above.")
fixedMA2 = fixedMA2type == 'EMA' ? ta.ema(ema2FixSource, ema2FixLength) : fixedMA2type == 'SMA' ? ta.sma(ema2FixSource, ema2FixLength) : fixedMA2type == 'VWMA' ? ta.vwma(ema2FixSource, ema2FixLength) : ta.hma(ema2FixSource, ema2FixLength)
ema2Step = request.security(syminfo.tickerid, ema2Res, fixedMA2[barstate.isrealtime ? 1 : 0])
ema2Smooth = request.security(syminfo.tickerid, ema2Res, fixedMA2[barstate.isrealtime ? 1 : 0], gaps=barmerge.gaps_on)

plot(ema2smooth ? ema2Smooth : ema2Step, color=ema2col ? (close > ema2Step ? color.rgb(155, 17, 30, 20) : color.rgb(155, 17, 30, 60)) : color.rgb(155, 17, 30, 20), linewidth=3, title="Fixed HTF 200 MA")

////////////////////////////////////////////////

// ========== TRADE ENTRY PARAMETERS ============

// v1 Retest Strategy Parameters 
BBLongTrigger1 = ta.crossunder(close, fastMA)
BBShortTrigger1 = ta.crossover(close, fastMA)
BBcloseLongTrigger1 = ta.crossunder(low, fastMA)
BBcloseShortTrigger1 = ta.crossover(high, fastMA)
MABuyGuard1 = fastMA > trendMA and trendMA > slowMA
MASellGuard1 = fastMA < trendMA and trendMA < slowMA
longFixedMAGuard1 = close > ema1Step
shortFixedMAGuard1 = close < ema1Step
rsiBuyGuard1 = rsi > rsiBuyLevel
rsiSellGuard1 = rsi < rsiSellLevel

// v1 Breakout Strategy Parameters
brBBLongTrigger1 = ta.crossover(close, fastMA)
brBBShortTrigger1 = ta.crossunder(close, fastMA)


// v2 Retest Strategy Parameters
BBLongTrigger2 = ta.crossunder(close, fastMA)
BBShortTrigger2 = ta.crossover(close, fastMA)
BBcloseLongTrigger2 = ta.crossunder(low, fastMA)
BBcloseShortTrigger2 = ta.crossover(high, fastMA)
MABuyGuard2 = trendMA > slowMA and trendMA > slowMA
MASellGuard2 = trendMA < slowMA and trendMA < slowMA
longFixedMAGuard2 = close > ema1Step
shortFixedMAGuard2 = close < ema1Step
rsiBuyGuard2 = rsi > rsiBuyLevel
rsiSellGuard2 = rsi < rsiSellLevel

// v2 Breakout Strategy Parameters
brBBLongTrigger2 = ta.crossover(close, fastMA)
brBBShortTrigger2 = ta.crossunder(close, fastMA)


// v3 Retest Strategy Parameters
BBLongTrigger3 = ta.crossunder(close, fastMA)
BBShortTrigger3 = ta.crossover(close, fastMA)
BBcloseLongTrigger3 = ta.crossunder(low, fastMA)
BBcloseShortTrigger3 = ta.crossover(high, fastMA)
MABuyGuard3 = trendMA > slowMA and trendMA > slowMA
MASellGuard3 = trendMA < slowMA and trendMA < slowMA
longFixedMAGuard3 = close > ema1Step
shortFixedMAGuard3 = close < ema1Step
rsiBuyGuard3 = rsi > rsiBuyLevel
rsiSellGuard3 = rsi < rsiSellLevel

// v3 Breakout Strategy Parameters
brBBLongTrigger3 = ta.crossover(close, fastMA)
brBBShortTrigger3 = ta.crossunder(close, fastMA)

////////////////////////////////////////////////

// ====== TRADE ENTRY TRIGGERS ======

// v1 Retest Signals
Long_1 = BBLongTrigger1 and MABuyGuard1 and rsiBuyGuard1 and longFixedMAGuard1
closeLong_1 = BBcloseLongTrigger1
Short_1 = BBShortTrigger1 and MASellGuard1 and rsiSellGuard1 and shortFixedMAGuard1
closeShort_1 = BBcloseShortTrigger1 

if s1 == true and v1 == true
    strategy.entry("Strat 1 'Retest' Long", strategy.long, when = Long_1, alert_message = "Strat 1 'Retest' - Buy Signal!")
    strategy.close("Strat 1 'Retest' Long", when = closeLong_1, alert_message = "Strat 1 'Retest' - Close Signal!")
    strategy.entry("Strat 1 'Retest' Short", strategy.short, when = Short_1, alert_message = "Strat 1 'Retest' - Short Signal!")
    strategy.close("Strat 1 'Retest' Short", when = closeShort_1, alert_message = "Strat 1 'Retest' - Close Signal!")

// v1 Breakout Signals
brLong_1 = brBBLongTrigger1 and MABuyGuard1 and rsiBuyGuard1 and longFixedMAGuard1
brcloseLong_1 = BBcloseLongTrigger1
brShort_1 = brBBShortTrigger1 and MASellGuard1 and rsiSellGuard1 and shortFixedMAGuard1
brcloseShort_1 = BBcloseShortTrigger1 

if s2 == true and v1 == true
    strategy.entry("Strat 1 'Breakout' Long", strategy.long, when = brLong_1, alert_message = "Strat 1 'Breakout' - Buy Signal!")
    strategy.close("Strat 1 'Breakout' Long", when = closeLong_1, alert_message = "Strat 1 'Breakout' - Close Signal!")
    strategy.entry("Strat 1 'Breakout' Short", strategy.short, when = brShort_1, alert_message = "Strat 1 'Breakout' - Short Signal!")
    strategy.close("Strat 1 'Breakout' Short", when = closeShort_1, alert_message = "Strat 1 'Breakout' - Close Signal!")


// v2 Retest Signals
Long_2 = BBLongTrigger2 and MABuyGuard2 and rsiBuyGuard2 and longFixedMAGuard2
Short_2 = BBShortTrigger2 and MASellGuard2 and rsiSellGuard2 and shortFixedMAGuard2

if s1 == true and v2 == true
    strategy.entry("Strat 2 Retest Long", strategy.long, when = Long_2, alert_message = "Strat 2 Retest - Buy Signal!")
    strategy.exit("SL/TP Strat 2 Retest long", "Strat 2 Retest Long", stop = longv2stoploss_level, limit = longv2takeprofit_level)
    strategy.entry("Strat 2 Retest Short", strategy.short, when = Short_2, alert_message = "Strat 2 Retest - Short Signal!")
    strategy.exit("SL/TP Strat 2 Retest short", "Strat 2 Retest Short", stop = shortv2stoploss_level, limit = shortv2takeprofit_level)

// v2 Breakout Signals
brLong_2 = brBBLongTrigger2 and MABuyGuard2 and rsiBuyGuard2 and longFixedMAGuard2
brShort_2 = brBBShortTrigger2 and MASellGuard2 and rsiSellGuard2 and shortFixedMAGuard2

if s2 == true and v2 == true
    strategy.entry("Strat 2 Breakout Long", strategy.long, when = brLong_2, alert_message = "Strat 2 Breakout - Buy Signal!")
    strategy.exit("SL/TP Strat 2 Breakout long", "Strat 2 Breakout Long", stop = longv2stoploss_level, limit = longv2takeprofit_level)
    strategy.entry("Strat 2 Breakout Short", strategy.short, when = brShort_2, alert_message = "Strat 2 Breakout - Short Signal!")
    strategy.exit("SL/TP Strat 2 Breakout short", "Strat 2 Breakout Short", stop = shortv2stoploss_level, limit = shortv2takeprofit_level)

// v3 Retest Signals
Long_3 = BBLongTrigger3 and MABuyGuard3 and rsiBuyGuard3 and longFixedMAGuard3
Short_3 = BBShortTrigger3 and MASellGuard3 and rsiSellGuard3 and shortFixedMAGuard3

if s1 == true and v3 == true
    strategy.entry("Strat 3 Retest Long", strategy.long, when = Long_3, alert_message = "Strat 3 Retest - Buy Signal!")
    strategy.exit("SL/TP Strat 3 Retest long", "Strat 3 Retest Long", stop = longv3stoploss_level, limit = longv3takeprofit_level)
    strategy.entry("Strat 3 Retest Short", strategy.short, when = Short_3, alert_message = "Strat 3 Retest - Short Signal!")
    strategy.exit("SL/TP Strat 3 Retest short", "Strat 3 Retest Short", stop = shortv3stoploss_level, limit = shortv3takeprofit_level)

// v3 Breakout Signals
brLong_3 = brBBLongTrigger3 and MABuyGuard3 and rsiBuyGuard3 and longFixedMAGuard3
brShort_3 = brBBShortTrigger3 and MASellGuard3 and rsiSellGuard3 and shortFixedMAGuard3

if s2 == true and v3 == true
    strategy.entry("Strat 3 Breakout Long", strategy.long, when = brLong_3, alert_message = "Strat 3 Breakout - Buy Signal!")
    strategy.exit("SL/TP Strat 3 Breakout long", "Strat 3 Breakout Long", stop = longv3stoploss_level, limit = longv3takeprofit_level)
    strategy.entry("Strat 3 Breakout Short", strategy.short, when = brShort_3, alert_message = "Strat 3 Breakout - Short Signal!")
    strategy.exit("SL/TP Strat 3 Breakout short", "Strat 3 Breakout Short", stop = shortv3stoploss_level, limit = shortv3takeprofit_level)

////////////////////////////////////////////////


More