Dynamische Strategie zur Umkehrung der Mittellinie von Angebot und Nachfrage

Überblick
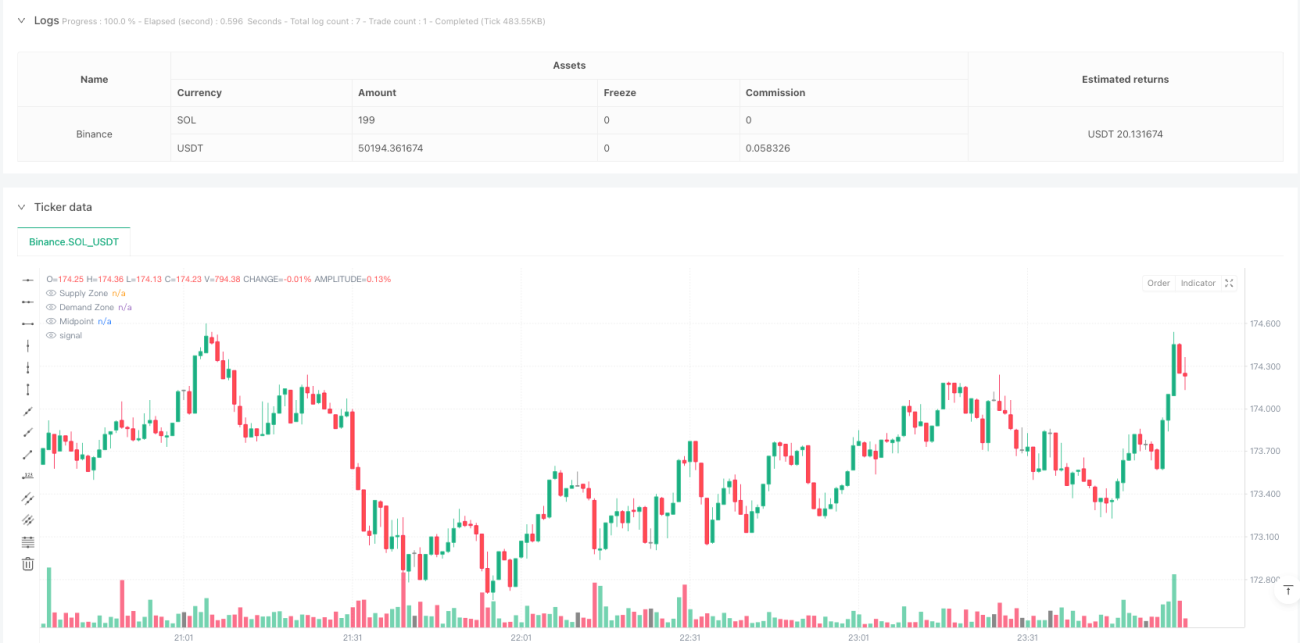
Die Strategie ist ein Handelssystem, basierend auf einer Umkehrung der Nachfrage- und Lieferzone und der Mittellinie, das auf einem 5-Minuten-Zeitrahmen funktioniert. Sie handelt durch die Identifizierung von Umkehrsignalen, wenn der Trend in die Mitte der Linie zurückkehrt, und setzt Stopps und Verluste in vordefinierten Nachfrage- und Lieferzonen. Die Strategie kombiniert den Moving Average (SMA) zur Bestimmung der Trendrichtung, indem sie die Nachfrage- und Lieferzone durch die Identifizierung von Höhen und Tiefen identifiziert und die Mittellinie der Zone als wichtige Preisreferenz verwendet.
Strategieprinzip
Die Kernlogik der Strategie umfasst die folgenden Schlüsselelemente:
- Bestimmung der Angebots-/Nachfrage-Bereiche: Höchste und niedrigste Preise mit benutzerdefinierten Zyklen (default 50 Zyklen) zur Bestimmung der Angebots- (Widerstands) und Nachfrage- (Unterstützungs) Bereiche
- Mittellinienrechnung: Ein wichtiger Bezugspunkt für eine Preisumkehr ist der Mittelpunkt der Angebots- und Nachfragezone
- Trendbeurteilung: Die Richtung des aktuellen Trends wird anhand eines einfachen gleitenden Durchschnitts (default 20-Zyklus) beurteilt
- Teilnahmebedingungen:
- Mehrseitigkeit: Preise liegen oberhalb der Durchschnittslinie (im Aufwärtstrend) und unterhalb des Mittelpunktes treten bullische Formen auf
- Blank: Preis unterhalb der Durchschnittslinie (abwärts) und eine Abwärtsbewegung oberhalb des Mittelpunkts
- Stop-Loss-Einstellung:
- Mehrköpfig: Stop-Loss in der Versorgungszone, Stop-Loss in der Nachfrage
- Leerkopf: Stop-Loss in der Nachfragezone, Stop-Loss in der Versorgungszone
Strategische Vorteile
- Logische Klarheit: Ein vollständiges Handelssystem, das Trends, Preisstrukturen und Diagramme kombiniert
- Gute Risikomanagement: Stopp-Loss-Punkte basierend auf der Marktstruktur und den Regeln der Preisbewegung
- Anpassungsfähigkeit: Anpassung an unterschiedliche Marktbedingungen durch Parameter
- Visuelle Unterstützung: Handelssignale und Schlüsselpreise werden durch Markierungen und Linien visuell angezeigt
- Hohe Automatisierung: Eintritts- und Ausstiegsbedingungen sind klar und vollständig automatisierte Transaktionen sind möglich
Strategisches Risiko
- Falsche Durchbruchrisiken: Die Preise können innerhalb der Angebots- und Nachfragegrenze hin und her schwanken und falsche Signale erzeugen.
- Parameter-Sensitivität: Unterschiedliche Parameter-Einstellungen können zu deutlich unterschiedlichen Transaktionsergebnissen führen
- Abhängigkeit vom Marktumfeld: kann in stark schwankenden oder horizontalen Märkten schlechter abschneiden
- Slippage-Effekte: In weniger liquiden Märkten kann der tatsächliche Kaufpreis stark von dem Signalpreis abweichen
- Übertriebenheit: Häufige Pausenbruche können zu Übertriebenheit führen
Richtung der Strategieoptimierung
- Das ist ein Signal-Filter:
- Hinzufügen von Lieferbestätigungen
- Einführung von Volatilitätsindikatoren für die Filterung von Handelsumgebungen
- Dynamische Parameter:
- Anpassungsparameter basierend auf Marktvolatilität
- Einführung eines Adaptive Moving Averages
- Optimierung des Risikomanagements:
- Realisieren Sie dynamisches Positionsmanagement
- Hinzufügen von Verlust-Vergleich-Filter
- Identifizierung des Marktumfelds:
- Entwicklung eines Klassifikationssystems für Marktzustände
- Unterschiedliche Parameter-Einstellungen für verschiedene Marktbedingungen
Zusammenfassen
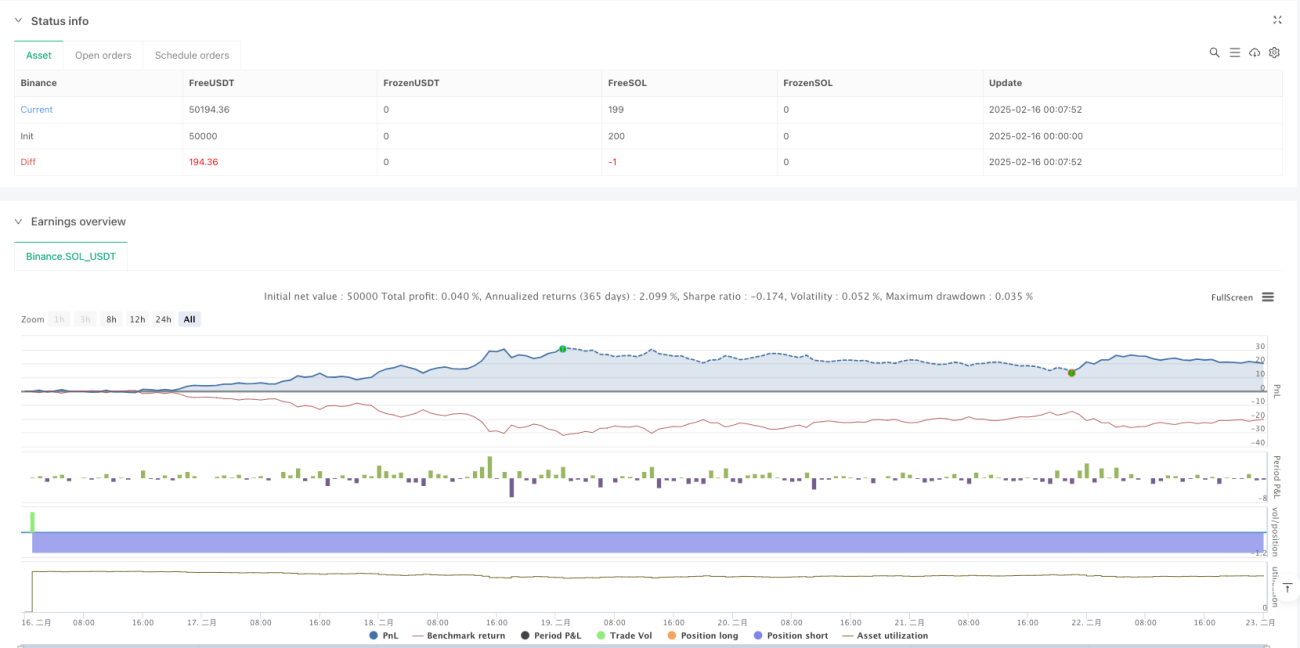
Die Strategie besteht aus einer Kombination von Angebots- und Nachfragebereichen sowie Trends und Preisformationen, um Marktchancen zu erfassen. Die Strategie basiert auf einem klaren Logikrahmen und einem gut ausgearbeiteten Risikomanagementsystem. Die Strategie erfordert jedoch, dass der Händler die Veränderungen der Marktumgebung genau beobachtet und die Parameter-Einstellungen zeitnah anpasst.
- 1