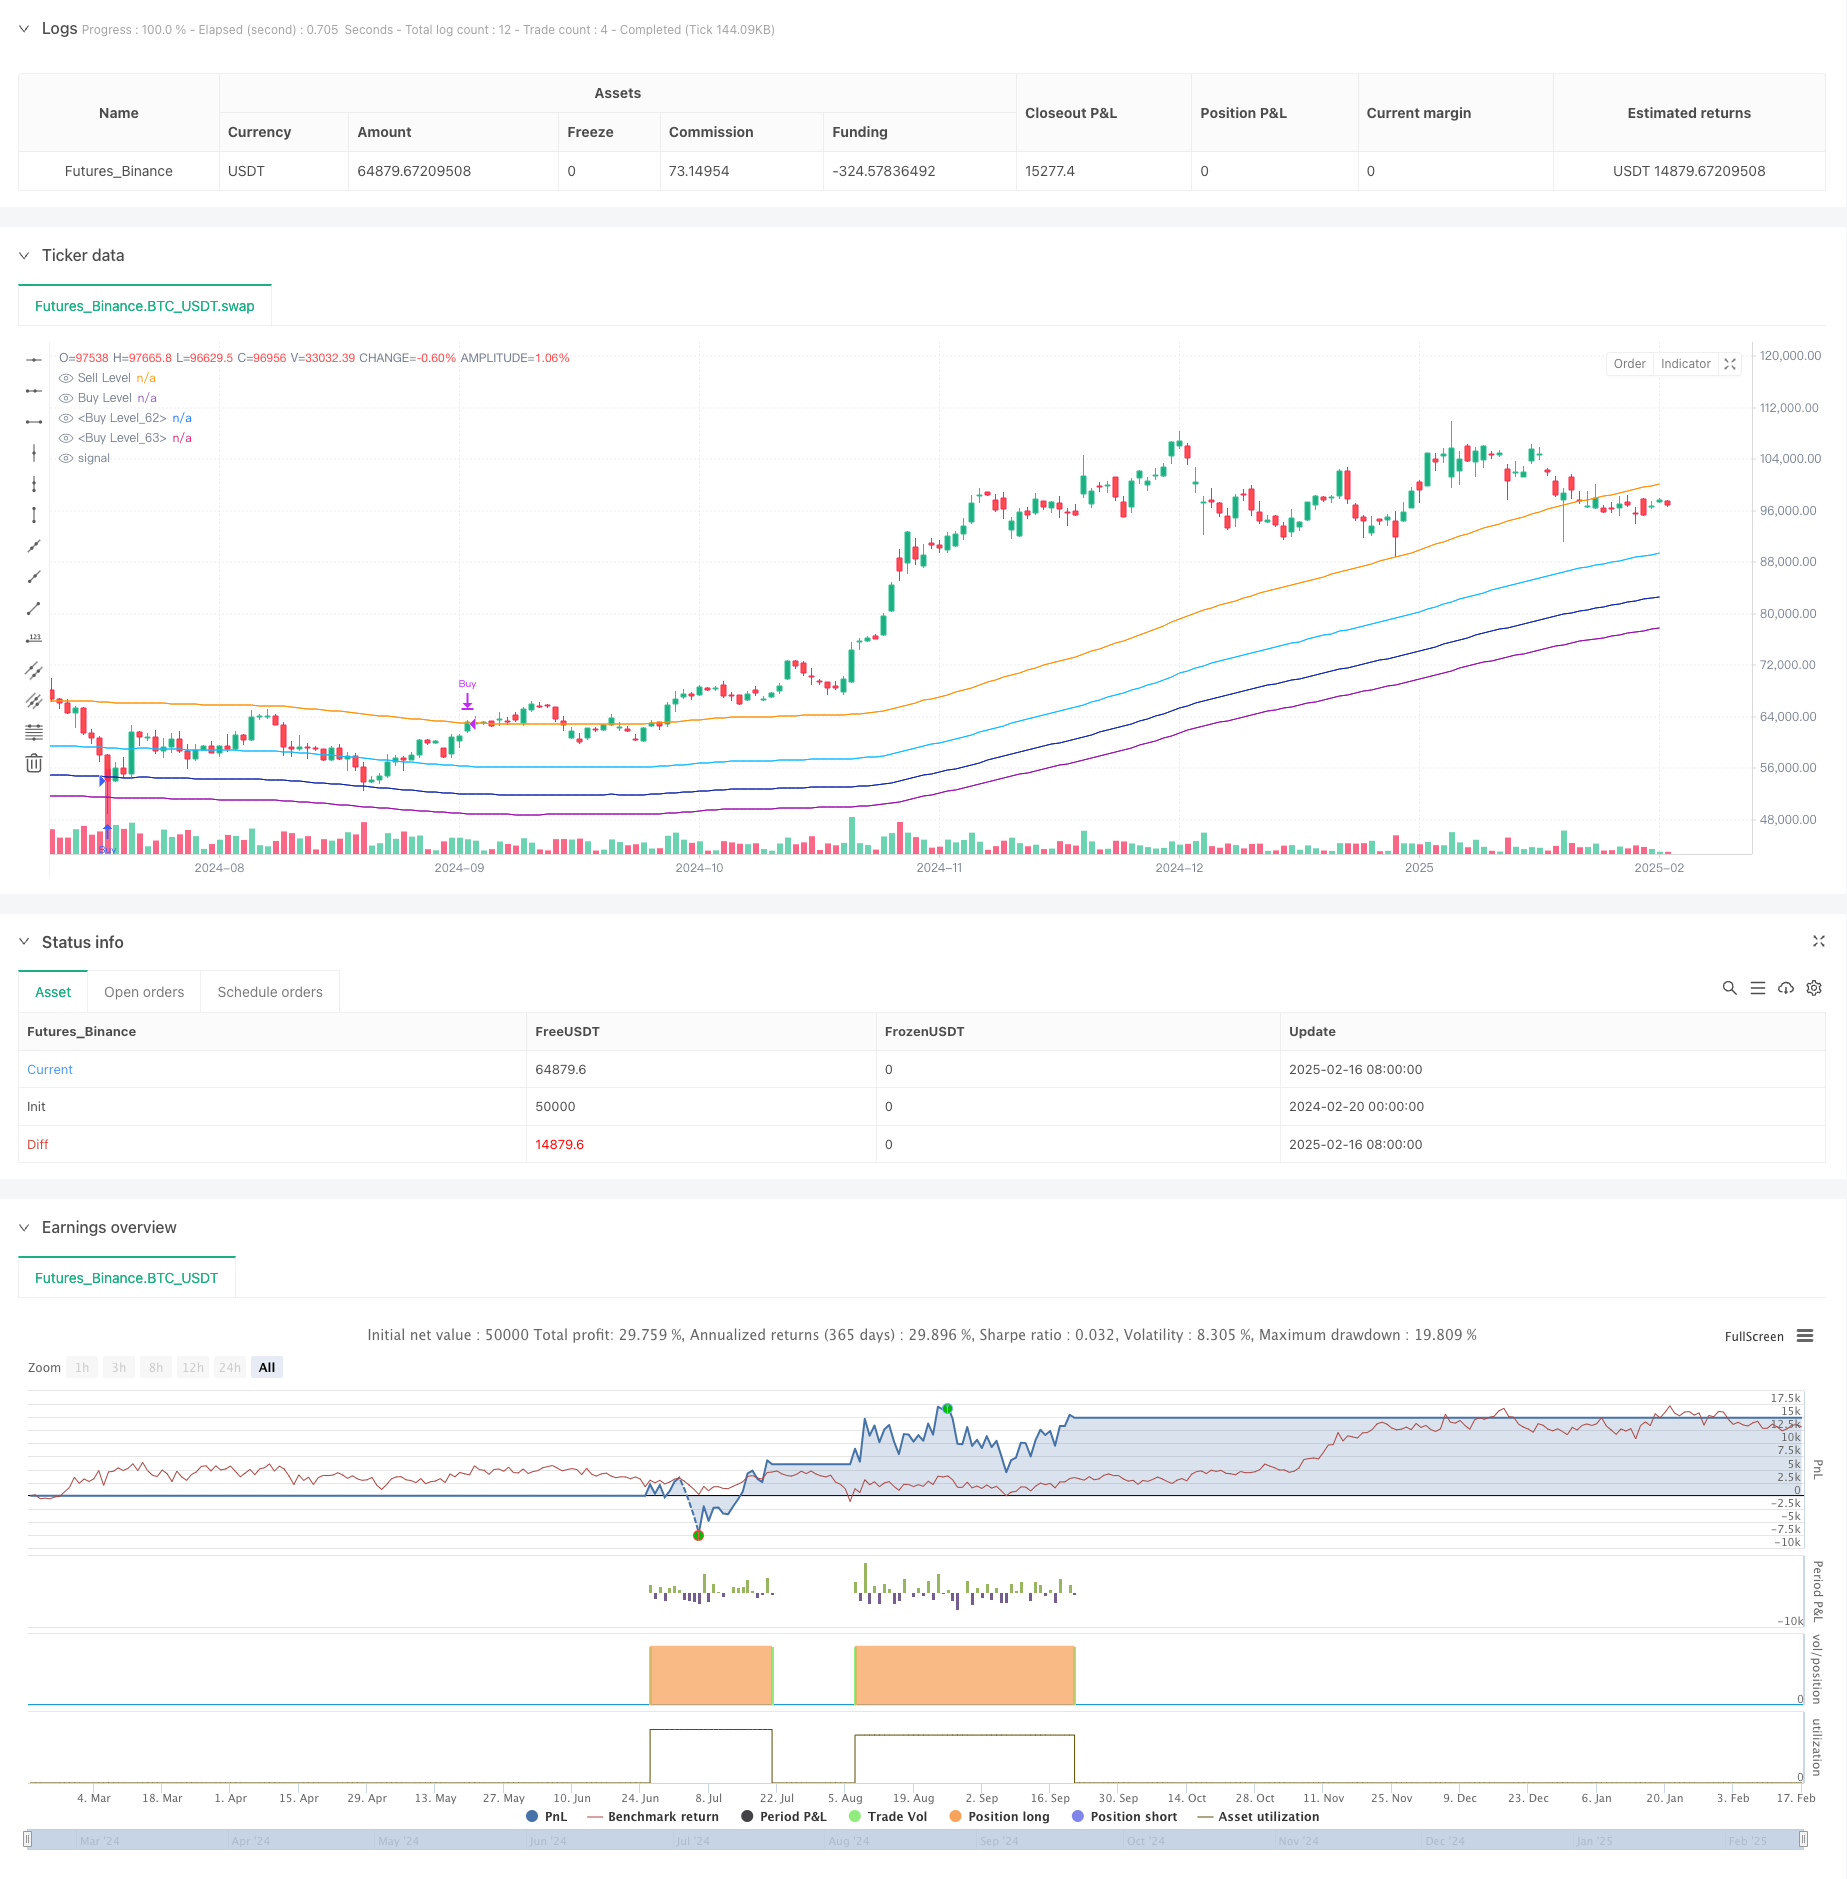
Overview
This strategy is a multi-zone grid trading system based on the MA100 moving average. It implements batch position building through different price retracement zones (-8%, -15%, -20%), buying gradually during significant market drops and taking profits when prices bounce back by 3%. The strategy adopts a smart grid approach, controlling risk by limiting the maximum number of positions and trading intervals in each zone.
Strategy Principles
The core logic includes the following aspects: 1. Uses 100-period Simple Moving Average (SMA) as the strategy’s reference price 2. Sets three buying zones: - Zone 2: 8% price retracement, maximum 2 trades allowed - Zone 3: 15% price retracement, maximum 3 trades allowed - Zone 4: 20% price retracement, maximum 4 trades allowed 3. Unified closing condition: when price bounces back above 3% of MA100 4. Each zone has a minimum trading interval of 50 candle periods to avoid excessive trading
Strategy Advantages
- Multi-zone layered position building reduces entry cost
- Adopts grid trading concept, capable of capturing opportunities in volatile markets
- Maximum position limits and trading intervals effectively control risk
- Simple strategy logic, easy to understand and maintain
- Suitable for high-volatility market environments
- Can be executed automatically without manual intervention
Strategy Risks
- May experience significant drawdowns in persistent downtrends
- Requires substantial capital to support multi-zone position building
- Simple closing conditions might miss larger upward movements
- Doesn’t consider overall market trends, may underperform in trending markets
- Fixed percentage parameters may not suit all market conditions
Strategy Optimization Directions
- Introduce trend indicators to adjust strategy parameters in strong trends
- Optimize closing mechanism to dynamically adjust profit targets based on market volatility
- Add risk control module with overall position limits and stop-loss conditions
- Incorporate volatility indicators (like ATR) to dynamically adjust entry zones
- Optimize trading interval mechanism to adjust dynamically based on market conditions
Summary
This strategy achieves batch position building during significant market corrections through multi-zone grid trading, demonstrating good risk resistance. While there are potential risks, stable trading results can be achieved through appropriate parameter settings and risk control measures. Further optimization opportunities mainly lie in incorporating more market-adaptive indicators and improving risk control mechanisms.
/*backtest
start: 2024-02-20 00:00:00
end: 2025-02-17 08:00:00
period: 1d
basePeriod: 1d
exchanges: [{"eid":"Futures_Binance","currency":"BTC_USDT"}]
*/

//@version=5
// BTC SOL ETH BNB XMR RNDR AKT OM ONDO IO

strategy("MA100 crash buy 3 Zone // 15 min", overlay=true, calc_on_every_tick=true)

// Définition des MA
maH1 = ta.sma(close, 100)
maB2 = ta.sma(close, 100)
maB3 = ta.sma(close, 100)
maB4 = ta.sma(close, 100)

// Définition du niveau d'achat et de vente
sellLevel1 = maH1 * 1.03 //+3%
buyLevel2 = maB2 * 0.92 //-8%
buyLevel3 = maB2 * 0.85 //-15%
buyLevel4 = maB2 * 0.80 //-20%


// Nombre max de trades simultanés
maxTrades2 = 2
maxTrades3 = 3
maxTrades4 = 4

// Délais entre deux ordres (en bougies)
tradeDelay = 50
var float lastTradeTime = na
var float lastSellTime = na
tradeDelay2 = 50
var float lastTradeTime2 = na
tradeDelay3 = 50
var float lastTradeTime3 = na
tradeDelay4 = 50
var float lastTradeTime4 = na

// Condition d'achat et de vente
buyCondition2 = low <= buyLevel2 and strategy.opentrades < maxTrades2 and (na(lastTradeTime2) or bar_index - lastTradeTime2 > tradeDelay2)
buyCondition3 = low <= buyLevel3 and strategy.opentrades < maxTrades3 and (na(lastTradeTime3) or bar_index - lastTradeTime3 > tradeDelay3)
buyCondition4 = low <= buyLevel4 and strategy.opentrades < maxTrades4 and (na(lastTradeTime4) or bar_index - lastTradeTime4 > tradeDelay4)
sellCondition = strategy.position_size > 0 and high >= sellLevel1 and (na(lastSellTime) or bar_index - lastSellTime > tradeDelay)

if buyCondition2
    strategy.entry("Buy", strategy.long)
    lastTradeTime2 := bar_index  // Enregistre le moment du trade

if buyCondition3
    strategy.entry("Buy", strategy.long)
    lastTradeTime3 := bar_index  // Enregistre le moment du trade

if buyCondition4
    strategy.entry("Buy", strategy.long)
    lastTradeTime4 := bar_index  // Enregistre le moment du trade

if sellCondition
    strategy.close("Buy")  // Ferme 50% de toutes les positions ouvertes // , qty_percent=30
    lastSellTime := bar_index  // Enregistre le moment du trade


// Affichage des niveaux
plot(sellLevel1, color=#fa930d, title="Sell Level")
plot(buyLevel2, color=#15bbfd, title="Buy Level")
plot(buyLevel3, color=#1229aa, title="Buy Level")
plot(buyLevel4, color=#9812aa, title="Buy Level")