
Overview
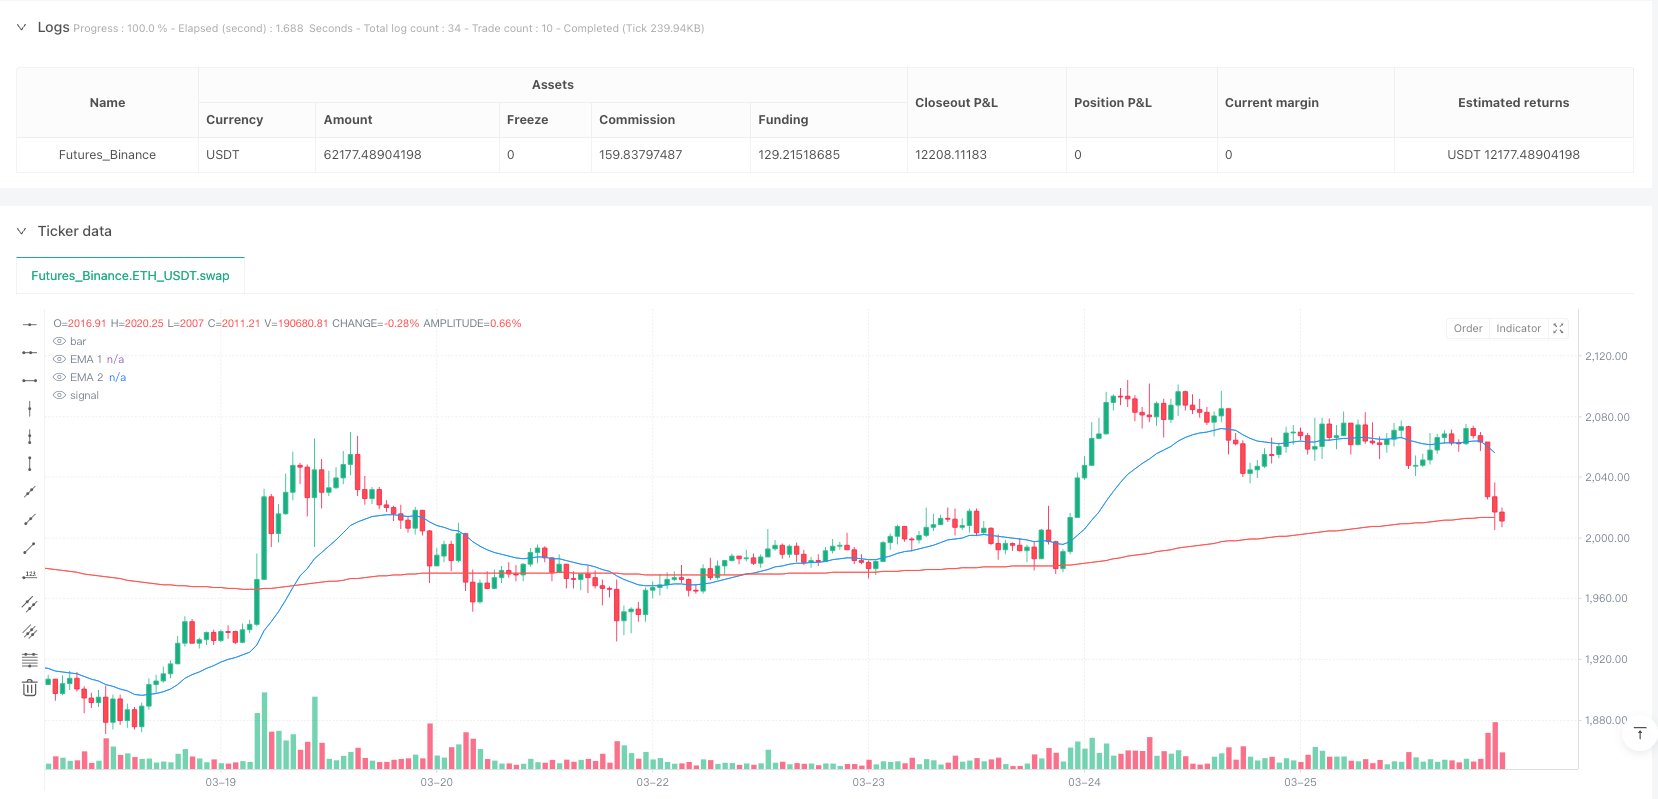
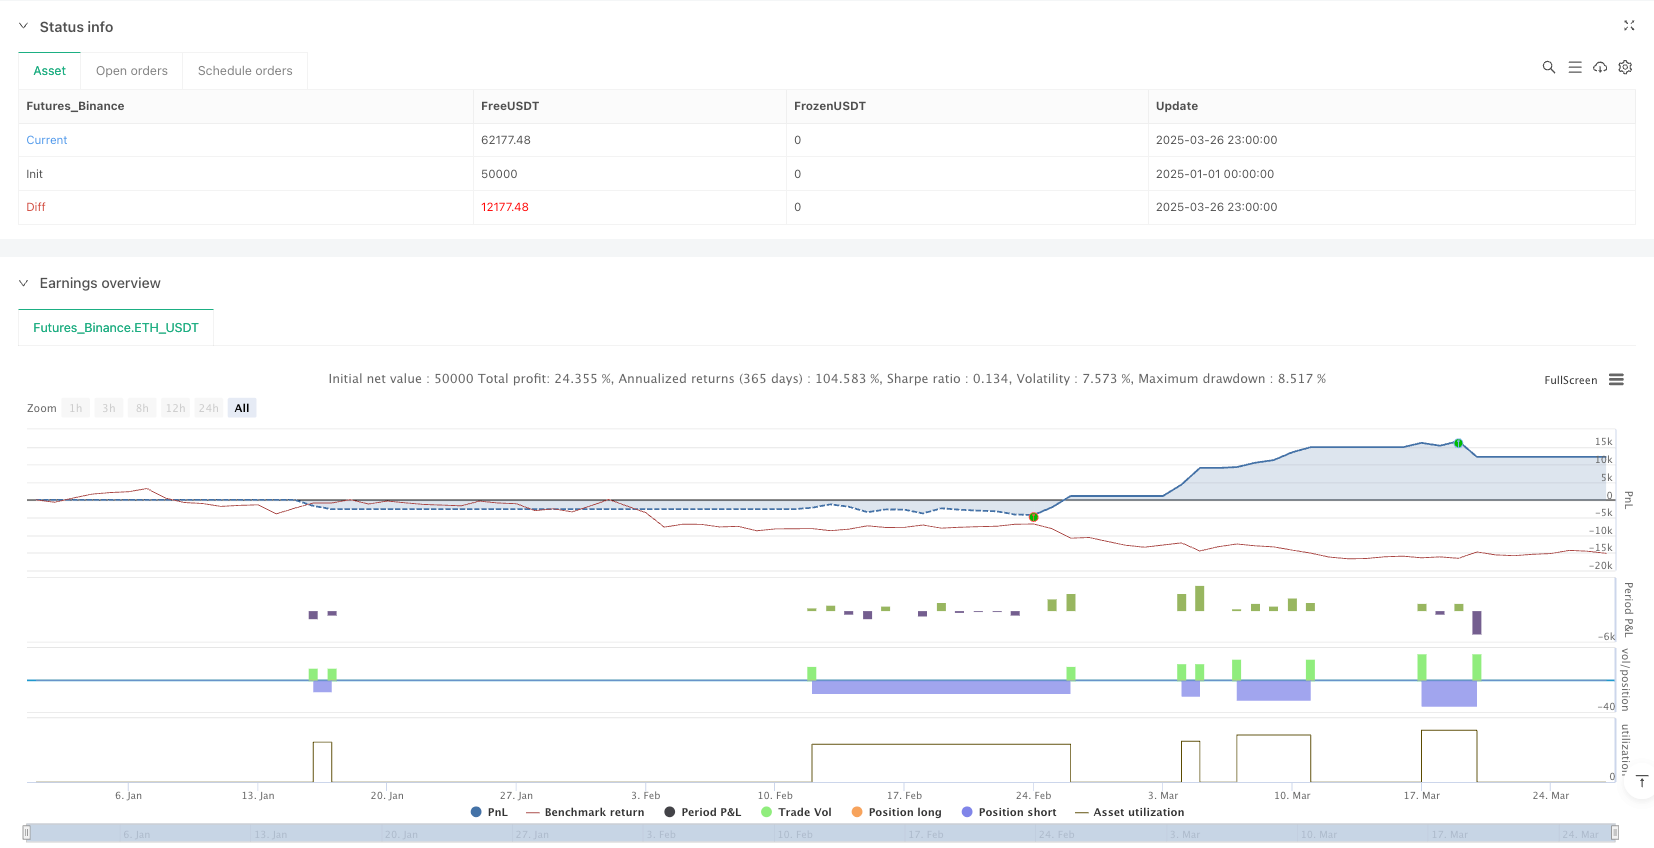
The Multiple EMA Reversion MACD Trend Confirmation Strategy is a trend trading system that combines a multi-EMA approach, price reversion, and MACD indicator. The core concept involves seeking trading opportunities when price reverts to the vicinity of a long-term moving average (200⁄250 EMA) and using the MACD indicator as an entry confirmation signal. The strategy also employs multiple hidden EMAs as auxiliary filtering conditions, along with ATR-based dynamic stop-loss and a fixed risk-reward ratio setup, forming a complete trading system.
Strategy Principles
This strategy executes trades based on the following core principles: 1. Trend Determination: Uses the relative position of the 20 EMA to the 250 EMA to determine the overall market trend. When the 20 EMA is above the 250 EMA, the market is considered to be in an uptrend; when the 20 EMA is below the 250 EMA, the market is considered to be in a downtrend. 2. Price Reversion: The strategy only looks for entry opportunities when the price reverts to the vicinity of the long-term moving average (250-day EMA), based on the mean reversion theory that “prices eventually return to their mean.” 3. Entry Conditions: Uses MACD crossovers as entry trigger signals, combined with EMA positioning filters. 4. Hidden EMA Filtering: The strategy uses three additional “hidden EMAs” (2-day, 100-day, and 300-day EMAs) to create an entry window, requiring the price to be between specific EMAs. 5. Risk Management: Uses ATR-based dynamic stop-loss, defaulting to 5 times the ATR value, and automatically calculates profit targets using a preset risk-reward ratio (default 1.5).
Long Entry Conditions: - 20 EMA is above the 250 EMA (confirming uptrend) - 2-day EMA is above the 300-day EMA and the 2-day EMA is below the 100-day EMA (confirming price reversion zone) - MACD line crosses above the signal line (confirming momentum shift)
Short Entry Conditions: - 20 EMA is below the 250 EMA (confirming downtrend) - 2-day EMA is below the 300-day EMA and the 2-day EMA is above the 100-day EMA (confirming price reversion zone) - MACD line crosses below the signal line (confirming momentum shift)
Strategy Advantages
- Combination of Trend Following and Pullbacks: The strategy respects the medium to long-term trend direction (determined by 20⁄250 EMAs) while capturing better entry points during price pullbacks, reducing the risk of chasing highs or catching falling knives.
- Precise Entry Zones: Through the combination of multiple EMAs, the strategy creates a relatively precise entry window, reducing false signals.
- Dynamic Risk Management: ATR-based stop-loss settings allow the strategy to automatically adjust risk exposure according to market volatility, setting wider stops in highly volatile markets and tighter stops in less volatile conditions.
- Systematic Profit Targets: Automatically calculates target prices through preset risk-reward ratios, avoiding subjective judgment.
- Signal Filtering Mechanism: Cross-validation of multiple conditions (EMA positions + MACD crossovers) reduces the possibility of false signals.
- Visual Assistance: The strategy marks entry conditions with background colors, allowing traders to visually identify entry opportunities.
Strategy Risks
- EMA Lag: EMAs are inherently lagging indicators and may not respond to price changes in time during rapidly changing markets, leading to delayed entry and exit signals. Solution: Consider adjusting EMA parameters, such as adopting a shorter-term EMA1 or using higher-weighted moving averages like Hull moving averages.
- Complex Conditions Leading to Scarce Trading Opportunities: The stacking of multiple entry conditions may result in relatively few actual trading signals, especially in range-bound markets. Solution: Optimize entry conditions based on different market conditions, or add additional entry logic.
- Limitations of Fixed Risk-Reward Ratios: Preset fixed risk-reward ratios may not be suitable for all market environments, potentially leading to premature profit-taking in strong trends and unattainable targets in range-bound markets. Solution: Consider dynamically adjusting risk-reward ratios, or implementing a scaled profit-taking strategy.
- Sensitivity to Parameter Changes: The strategy uses multiple EMA and MACD parameters, and excessive optimization may lead to overfitting risk. Solution: Conduct robustness testing to ensure strategy performance remains stable with small parameter changes.
- Lack of Market Environment Filtering: The strategy lacks mechanisms to identify overall market conditions (such as trend strength, volatility range, etc.), and may generate signals under unsuitable market conditions. Solution: Add market environment filters, such as ADX indicators to determine trend strength, or volatility thresholds.
Strategy Optimization Directions
- Dynamic Adjustment of Risk-Reward Ratios: Risk-reward ratios can be automatically adjusted based on market volatility or trend strength, using higher risk-reward ratios in strong trend markets and lower ones in range-bound markets. This can better adapt to different market environments and improve strategy adaptability.
- Add Market Environment Filtering: Introduce additional indicators such as ADX (Average Directional Index) to determine trend strength, executing trades only when trends are clear. VIX or ATR ranges can also be used to judge volatility environments, avoiding trading in excessively volatile or insufficiently volatile markets.
- Scaled Profit-Taking Strategy: Implement a scaled profit-taking strategy, such as closing portions of positions at 0.5R, 1R, and final targets respectively, both securing partial profits and allowing the remaining position to capture potential gains.
- Improve the EMA System: Try using adaptive moving averages such as KAMA (Kaufman’s Adaptive Moving Average) or Hull moving averages instead of standard EMAs, reducing lag and improving responsiveness to price changes.
- Integrate Volume Confirmation: Add volume confirmation conditions when generating entry signals, such as requiring increased volume during MACD crossovers, improving signal reliability.
- Add Time Filters: Add time filters to avoid trading during periods of high volatility or poor liquidity, such as an hour before market opening or closing.
- Optimize Stop-Loss Mechanisms: Implement trailing stops instead of fixed stops, especially after profits reach certain levels, maximizing the protection of existing profits.
Summary
The Multiple EMA Reversion MACD Trend Confirmation Strategy is a comprehensive trading system that integrates multiple technical analysis methods. Its core advantages lie in combining trend determination, price reversion theory, momentum confirmation, and systematic risk management. The strategy identifies overall trend direction through the EMA system, seeks high-probability entry points through price reversion to long-term EMAs, and uses MACD as a momentum confirmation signal to reduce false signals.
This strategy is particularly suitable for medium to long-term trending markets, capturing opportunities for price pullbacks to continue developing along the trend direction in strong trend environments. However, the strategy also faces potential risks such as EMA lag and scarce trading opportunities, which need to be optimized through market environment filtering, dynamic risk management, and other methods.
By adding market environment filtering mechanisms, dynamically adjusting risk-reward ratios, and improving the EMA system, this strategy has the potential to further enhance stability and adaptability, becoming a more comprehensive and effective trading system. For investors pursuing systematic trading, this strategy, which combines multiple technical indicators and possesses complete risk management mechanisms, provides a trading framework worth considering.
/*backtest
start: 2025-01-01 00:00:00
end: 2025-03-27 00:00:00
period: 1h
basePeriod: 1h
exchanges: [{"eid":"Futures_Binance","currency":"ETH_USDT"}]
*/

//@version=5
strategy("Price Near 200 EMA", overlay=true, default_qty_type=strategy.percent_of_equity, default_qty_value=100)

// === User Inputs ===
ema1Length = input(20, title="EMA 1 Length")     // Main EMA (Trend)
ema2Length = input(250, title="EMA 2 Length")    // Long-term EMA
macdFastLength = input(12, title="MACD Fast Length")
macdSlowLength = input(26, title="MACD Slow Length")
macdSignalLength = input(9, title="MACD Signal Length")

rrRatio = input.float(1.5, title="Risk to Reward Ratio", minval=1, step=0.1)
atrMultiplier = input.float(5, title="ATR Multiplier for SL", minval=1, step=0.1)  // Default to 5x ATR
atrLength = input(14, title="ATR Length")  // User-defined ATR length

// === Hidden EMA Lengths (Hardcoded) ===
ema3Length = 2    // Fast EMA (Hidden)
ema4Length = 100  // Medium EMA (Hidden)
ema5Length = 300  // Long EMA (Hidden)

// === EMA Calculations ===
ema1 = ta.ema(close, ema1Length)  // 20 EMA
ema2 = ta.ema(close, ema2Length)  // 250 EMA
ema3 = ta.ema(close, ema3Length)  // 2 EMA (Hidden)
ema4 = ta.ema(close, ema4Length)  // 100 EMA (Hidden)
ema5 = ta.ema(close, ema5Length)  // 300 EMA (Hidden)

// === MACD Calculation ===
[macdLine, signalLine, _] = ta.macd(close, macdFastLength, macdSlowLength, macdSignalLength)
macdBullish = ta.crossover(macdLine, signalLine)
macdBearish = ta.crossunder(macdLine, signalLine)

// === ATR for Dynamic Stop Loss ===
atrValue = ta.atr(atrLength)

// === Long Conditions ===
bullishCondition1 = ema1 > ema2
bullishCondition2 = ema3 > ema5 and ema3 < ema4
bullishEntry = bullishCondition1 and bullishCondition2 and macdBullish

// === Short Conditions ===
bearishCondition1 = ema1 < ema2
bearishCondition2 = ema3 < ema5 and ema3 > ema4
bearishEntry = bearishCondition1 and bearishCondition2 and macdBearish

// === Calculate Stop Loss and Target Using ATR ===
longStopLoss = close - atrValue * atrMultiplier
longTargetPrice = close + (close - longStopLoss) * rrRatio

shortStopLoss = close + atrValue * atrMultiplier
shortTargetPrice = close - (shortStopLoss - close) * rrRatio

// === Entry and Exit Logic ===
if bullishEntry
    strategy.entry("Buy", strategy.long)
    strategy.exit("TP Long", "Buy", limit=longTargetPrice, stop=longStopLoss, comment="SL/TP Long")

if bearishEntry
    strategy.entry("Sell", strategy.short)
    strategy.exit("TP Short", "Sell", limit=shortTargetPrice, stop=shortStopLoss, comment="SL/TP Short")

// === Plotting Only Visible EMAs ===
plot(ema1, title="EMA 1", color=color.blue)
plot(ema2, title="EMA 2", color=color.red)

// === Background Highlight for Entries ===
bgcolor(bullishEntry ? color.new(color.green, 90) : na, title="Bullish Background")
bgcolor(bearishEntry ? color.new(color.red, 90) : na, title="Bearish Background")