
Overview
The Multi-Timeframe Volatility Tracking Quantitative Strategy is a trading system based on price volatility ranges. This strategy establishes dynamic support and resistance levels by calculating price fluctuation ranges across monthly, weekly, and daily timeframes to identify potential trading opportunities. The core concept revolves around price zones calculated from historical volatility, using multi-timeframe analysis for cross-validation, and generating trading signals when price breaks through specific volatility zones. The system particularly focuses on weekly and monthly support and resistance levels, identifying high-probability entry and exit points through the interaction of these key price levels.
Strategy Principles
The strategy is built on the foundation of price volatility ranges and multi-timeframe analysis. Specifically, it works as follows:
-
Multi-Timeframe Data Acquisition: The strategy first obtains price data for monthly (M), weekly (W), and daily (D) timeframes using the
request.securityfunction, including closing prices, highs, and lows. -
Dynamic Volatility Range Calculation: Using the acquired price data, the strategy calculates multiple volatility-based price levels:
- Upper volatility zones: Using the formula
(((high-low)*(1.1/factor))+(close)), where factors of 2 and 4 correspond to resistance levels at different distances. - Lower volatility zones: Using the formula
((close)-((high-low)*(1.1/factor)))to calculate support levels at varying distances. - Zones produced with a factor of 2 (H4/L4) represent more distant price areas, while zones with a factor of 4 (H3/L3) represent areas closer to the current price.
- Upper volatility zones: Using the formula
-
Entry Logic:
- Long entry condition: The previous candle closed higher than its open (bullish candle), and the closing price broke through both weekly and monthly key support levels (LW3 and LMN3) as well as the weekly resistance level (HW3).
- This compound condition indicates that the price not only broke through the short-term volatility range but also received confirmation from higher timeframes.
-
Exit Logic:
- Short entry condition (effectively an exit for long positions): Price opens below the weekly support and resistance levels (LW3 and HW3).
- Profit-taking condition (profitsave variable): The strategy also defines a profit-taking condition triggered when a reversal candle appears with significant reversal strength (downward movement exceeding the previous day's upward movement), and both the opening and closing prices are above the weekly resistance level.
-
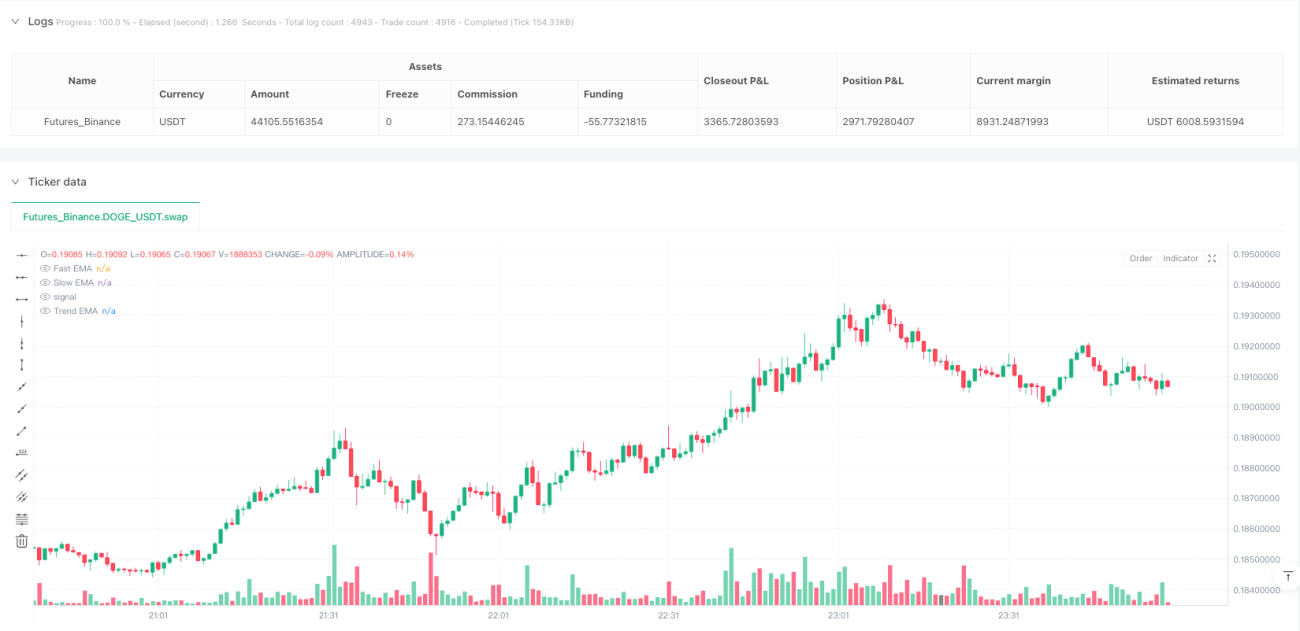
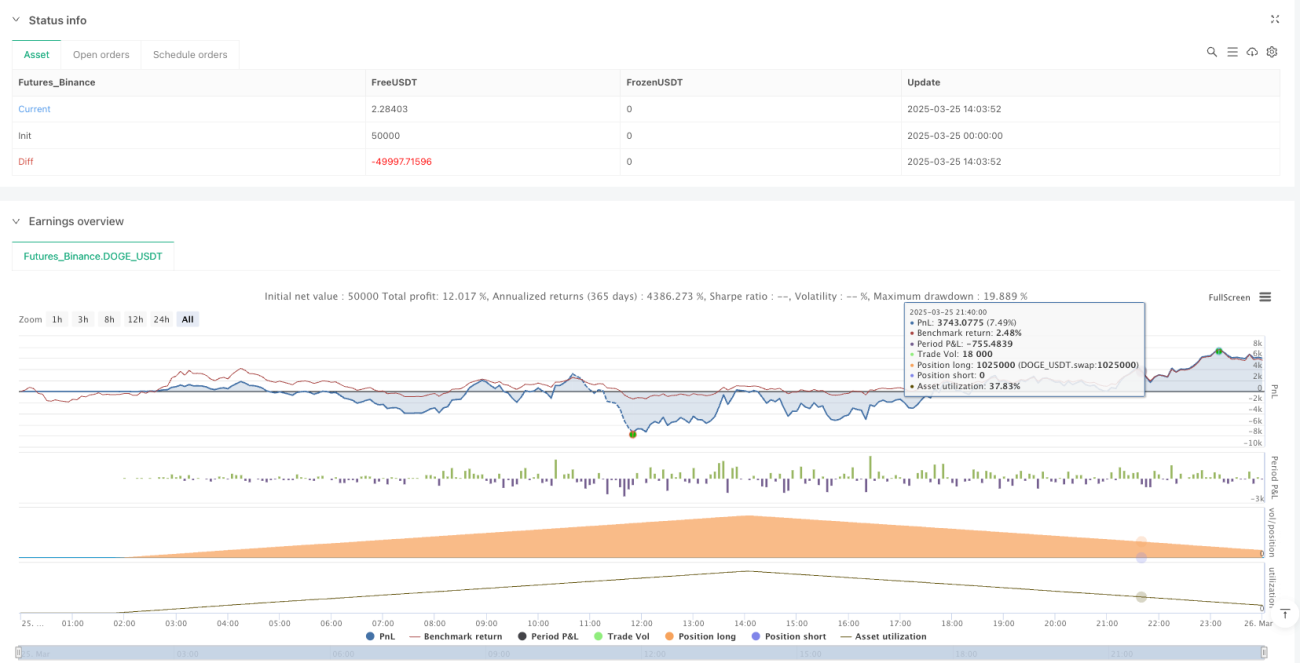
Graphical Display: The strategy plots key support and resistance levels on the chart, primarily displaying monthly and weekly H3 and L3 levels, using different colors for distinction to facilitate visual analysis by traders. Additionally, when profit-taking signals are triggered, arrow markers appear on the chart.
Strategy Advantages
-
Multi-Timeframe Synergistic Analysis: By integrating monthly, weekly, and daily data, the strategy can capture market structures across different timeframes, enhancing signal reliability. Compared to single-timeframe strategies, multi-timeframe analysis provides a more comprehensive grasp of market trends.
-
Volatility-Based Adaptability: The support and resistance levels used by the strategy are calculated based on historical price volatility rather than fixed values, allowing the strategy to automatically adapt to different market environments and volatility changes.
-
Clear Risk Management Framework: By setting volatility-based exit conditions, the strategy provides traders with relatively objective stop-loss and profit-taking mechanisms, helping to control risk in individual trades.
-
Trend Confirmation Mechanism: The strategy requires not only price breakouts but also bullish candle patterns, which helps filter out false breakout signals.
-
Visual Intuitiveness: By plotting key price levels and signal markers on the chart, traders can intuitively understand market structure and potential trading opportunities, facilitating real-time decision-making and strategy adjustments.
Strategy Risks
-
Lag Risk: The strategy uses data from previous periods to calculate support and resistance levels, which in rapidly fluctuating markets may lead to missing optimal entry points or exiting too early.
-
False Breakout Risk: Even with multiple confirmation conditions, false breakouts may still occur, especially in low-liquidity or high-volatility market environments. Solutions include adding volume confirmation or setting stricter breakout conditions.
-
Parameter Sensitivity: The coefficients used by the strategy (1.1/2 and 1.1/4) significantly impact results, and different markets and periods may require different optimized parameters. Thorough historical backtesting and parameter optimization are recommended.
-
Correlation Risk: The code includes references to BTCUSD (although commented out in the final conditions), suggesting the strategy may consider inter-asset correlations. If market correlations change, strategy performance may be affected.
-
Lack of Complete Stop-Loss Mechanism: Although the strategy defines exit conditions, there is no explicit price-based stop-loss setting, which could lead to excessive losses in extreme market conditions. Adding fixed stop-losses or ATR-based dynamic stop-losses is recommended.
Strategy Optimization Directions
-
Improve Risk Management: Add explicit stop-loss mechanisms, such as ATR-based dynamic stop-losses or maximum loss percentage settings. Additionally, consider implementing a staged profit-taking mechanism to partially reduce positions at different price levels.
-
Parameter Self-Adaptation: The strategy currently uses fixed volatility coefficients (1.1/2 and 1.1/4). Consider allowing these parameters to adjust automatically based on market volatility. For example, use larger coefficients during high-volatility periods and smaller coefficients during low-volatility periods.
-
Add Filters: Introduce trend strength indicators (such as ADX) or volatility indicators (such as ATR) as additional filtering conditions, trading only in environments with clear trends or appropriate volatility, avoiding frequent trading in ranging or excessively volatile markets.
-
Time Filtering: Add time filtering mechanisms to avoid trading during major economic data releases or low-liquidity periods, improving signal quality.
-
Integrate Volume Analysis: Price breakouts need sufficient trading volume to be sustainable. Consider adding volume confirmation conditions to the strategy, such as requiring breakout volume to be higher than the average of previous periods.
-
Optimize System Parameters: Through in-depth historical backtesting and walk-forward analysis, identify optimal parameter combinations for different market environments, and even consider developing a dynamic parameter adjustment mechanism.
Summary
The Multi-Timeframe Volatility Tracking Quantitative Strategy is a trading system based on price volatility ranges that identifies high-probability trading opportunities by integrating price data across multiple timeframes and calculating dynamic support and resistance levels. The strategy's most distinctive feature is its utilization of synergies between different timeframes, improving trading signal reliability through cross-validation.
The core advantages of the strategy lie in its adaptability and multi-timeframe analytical framework, enabling it to maintain effectiveness across various market environments. However, users need to be aware of issues such as lag, false breakout risks, and parameter sensitivity, and implement comprehensive risk management measures to control potential losses.
Through continuous optimization of the strategy, particularly improvements in risk management, parameter self-adaptation, and filtering mechanisms, this strategy has the potential to become a robust trading system. Most importantly, traders should understand the logic behind the strategy rather than merely executing signals mechanically, enabling appropriate adjustments when market conditions change.
- 1