Strategi pembalikan garis tengah kisaran permintaan dan penawaran dinamis

Ringkasan
Strategi ini adalah sistem perdagangan yang didasarkan pada pembatalan dan pembalikan rantai pasokan dan permintaan, yang berjalan pada kerangka waktu 5 menit. Ini melakukan perdagangan dengan mengidentifikasi sinyal pembalikan saat tren kembali ke posisi rantai tengah, dan menetapkan stop loss di area penawaran dan permintaan yang telah ditentukan. Strategi ini menggabungkan rata-rata bergerak (SMA) untuk menentukan arah tren, dengan mengidentifikasi rantai pasokan dan permintaan dengan titik tinggi dan rendah, dan menggunakan titik tengah rantai sebagai titik acuan harga yang penting.
Prinsip Strategi
Logika inti dari strategi ini mencakup elemen-elemen kunci berikut:
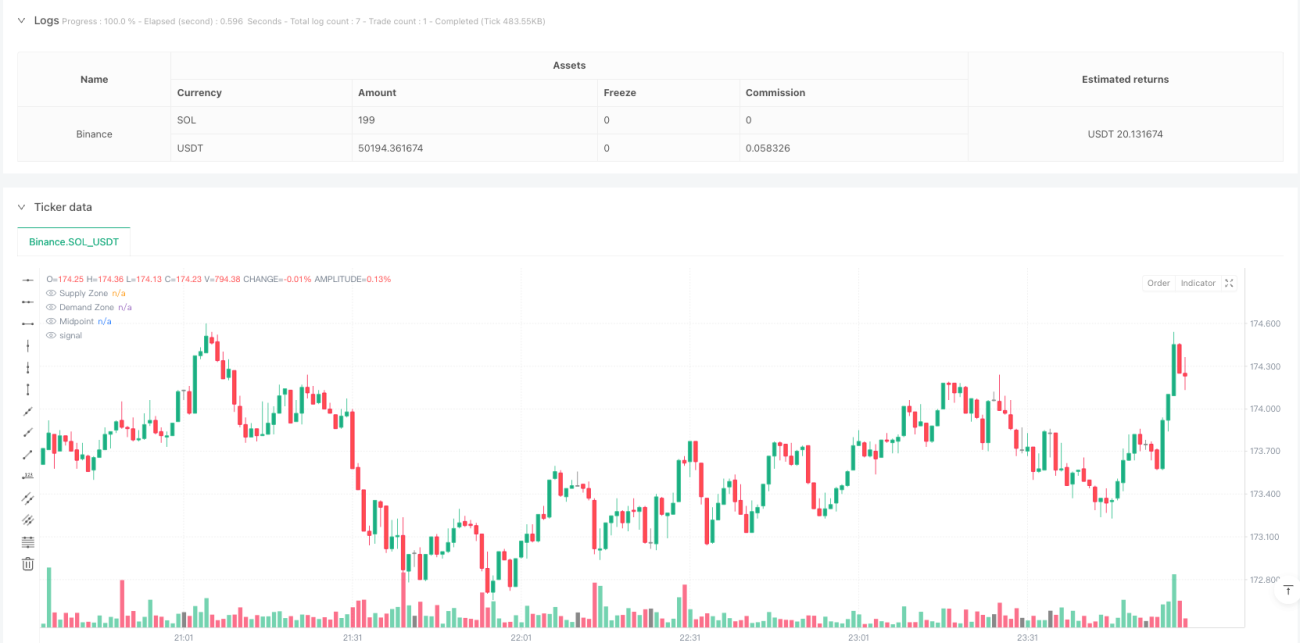
- Penentuan rentang permintaan dan penawaran: harga tertinggi dan terendah dengan menggunakan siklus yang disesuaikan pengguna (default 50 siklus) untuk menentukan zona penawaran (resistance point) dan zona permintaan (support point)
- Perhitungan garis tengah: mengambil titik tengah dari kisaran penawaran dan permintaan sebagai titik acuan penting untuk pembalikan harga
- Pengertian tren: Menggunakan rata-rata bergerak sederhana (default 20 period) untuk menilai arah tren saat ini
- Syarat masuk:
- Multi-head: harga di atas garis rata-rata ((tren naik), dan di bawah titik tengah muncul bentuk bullish
- Hulu: harga berada di bawah garis rata-rata ((tren menurun), dan di atas titik tengah muncul bentuk bearish
- Pengaturan Stop Loss:
- Multi-head: Stop-stop di area pasokan, stop-loss di area permintaan
- Kepala kosong: Stop loss di area permintaan, stop loss di area pasokan
Keunggulan Strategis
- Logika yang jelas: Menggabungkan tren, struktur harga, dan bentuk grafik untuk membangun sistem perdagangan yang lengkap
- Manajemen risiko yang baik: Berdasarkan struktur pasar yang mengatur stop loss, sesuai dengan hukum pergerakan harga
- Adaptif: dapat disesuaikan dengan parameter untuk menyesuaikan dengan lingkungan pasar yang berbeda
- Dukungan visualisasi: menampilkan sinyal perdagangan dan harga kunci secara intuitif melalui tanda dan garis
- Tingkat otomatisasi tinggi: persyaratan masuk dan keluar yang jelas, memungkinkan transaksi otomatis sepenuhnya
Risiko Strategis
- Risiko False Breakout: Harga dapat bergoyang-goyang di dalam kisaran permintaan dan penawaran, menghasilkan sinyal palsu
- Sensitivitas parameter: pengaturan parameter yang berbeda dapat menyebabkan hasil transaksi yang berbeda secara signifikan
- Ketergantungan pada kondisi pasar: mungkin tidak berkinerja baik dalam pasar yang sangat berfluktuasi atau horizontal
- Efek slippage: Dalam pasar yang kurang likuid, harga transaksi aktual mungkin memiliki deviasi besar dari harga sinyal
- Overtrading: seringnya penembusan interval dapat menyebabkan overtrading
Arah optimasi strategi
- Filter sinyal:
- Tambahkan konfirmasi pengiriman
- Memperkenalkan indikator volatilitas untuk memfilter lingkungan perdagangan
- Parameter dinamis:
- Parameter penyesuaian berdasarkan volatilitas pasar
- Memperkenalkan Adaptive Moving Average
- Optimasi Manajemen Risiko:
- Mewujudkan manajemen posisi dinamis
- Tambahkan filter yang lebih rendah
- Identifikasi lingkungan pasar:
- Pengembangan sistem klasifikasi status pasar
- Menggunakan pengaturan parameter yang berbeda dalam kondisi pasar yang berbeda
Meringkaskan
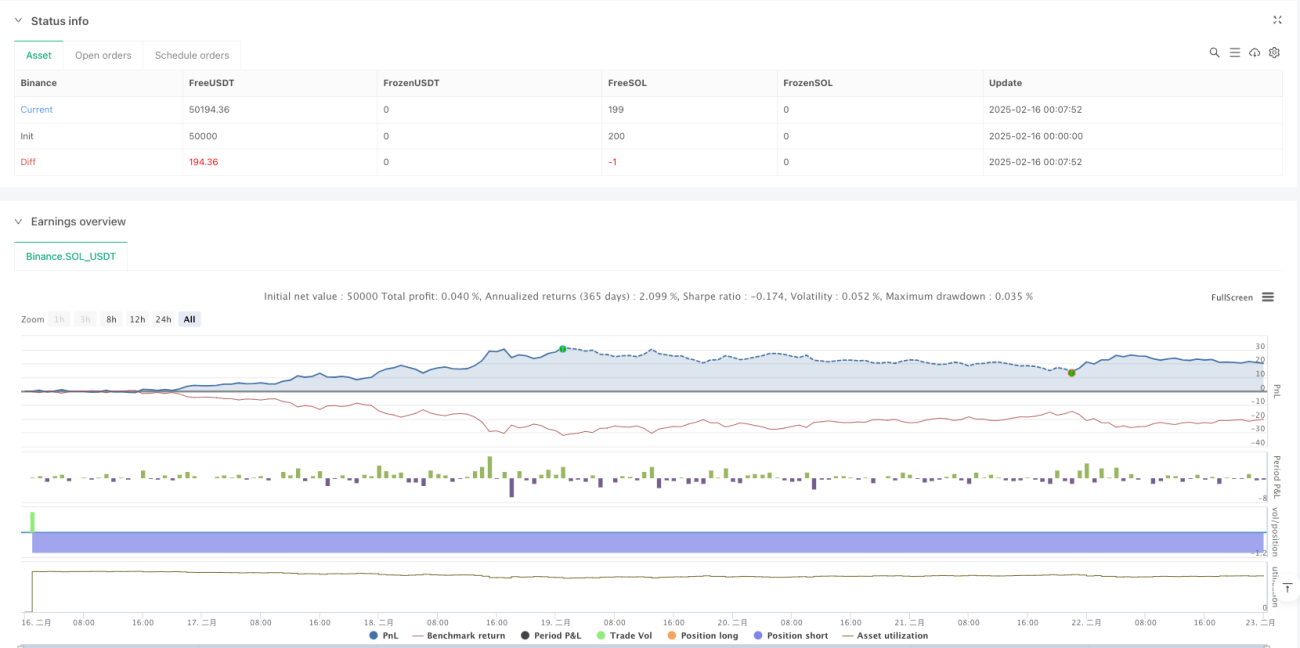
Strategi pembalikan mid-line of the dynamic range of supply and demand adalah sistem perdagangan yang menggabungkan beberapa dimensi analisis teknis untuk menangkap peluang pasar melalui kombinasi antara kisaran permintaan dan penawaran, tren, dan pola harga. Keunggulan inti dari strategi ini adalah kerangka logis yang jelas dan sistem manajemen risiko yang baik, tetapi juga membutuhkan pedagang untuk memperhatikan perubahan lingkungan pasar dan menyesuaikan pengaturan parameter tepat waktu.
- 1