ダイナミックな需給レンジの中間線反転戦略

SMA TP SL SUPPLY ZONE DEMAND ZONE Midline Rejection
作成日: 2025-02-24 09:54:03 最終変更日: 2025-02-24 16:00:34
コピー: 2 クリック数: 353
2
フォロー
319
フォロワー

ダイナミックな需給レンジの中間線反転戦略 ダイナミックな需給レンジの中間線反転戦略

概要

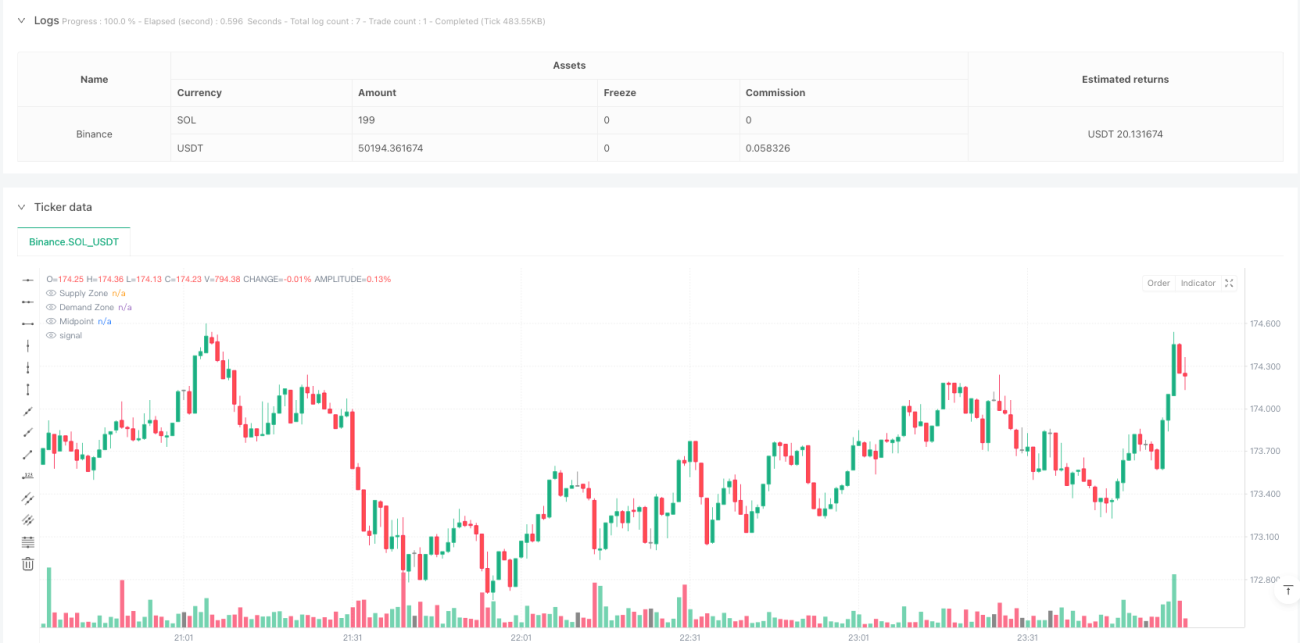
この戦略は,需要区間と中線反転に基づく取引システムで,5分間の時間枠で動作する. 傾向が中線位置に回転したときに反転信号を認識して取引を行い,事前に定義された需要区間の供給にストップストロップを設定する. この戦略は,移動平均 ((SMA)) を組み合わせて,需要区間を高低点で識別し,区間の中点を重要な価格基準レベルとして利用して,トレンドの方向を決定する.

戦略原則

戦略の中核となるロジックには、次の重要な要素が含まれます。

  1. 供給・需要区間の決定:ユーザのカスタマイズされた周期 (デフォルト50サイクル) を用いた最高価格と最低価格を使用して,供給区 (抵抗位) と需要区 (サポート位) を決定する.
  2. 中間線計算:価格の反転の重要な参照位置として,需要と供給の間の中間点を取る
  3. トレンド判断: 単純な移動平均 ((デフォルト20周期) を用いて現在のトレンド方向を判断する
  4. 応募条件:
    • 多頭: 価格が平均線上方 ((上昇傾向)),そして中点の下の看板形が現れる
    • 空頭:価格が平均線以下 ((下降傾向) で,中点上方には下落の形が表れている
  5. ストップ・ストップ・損失設定:
    • 多頭:ストップは供給領域に,ストップは需要領域に
    • 空頭: 停止は需要領域に,停止は供給領域に

戦略的優位性

  1. 論理的明晰さ:トレンド,価格構造,グラフ形状を組み合わせて,完全な取引システムを構築する
  2. リスク管理の改善: 市場構造によるストップ・ストラップ・ポイントの設定,価格運動の法則に適合
  3. 適応性:異なる市場環境にパラメータで適応できる
  4. ビジュアルサポート:取引信号と鍵値をタグとラインで直視的に表示する
  5. 高度な自動化:入場・出場条件が明確で,完全に自動化された取引が可能

戦略リスク

  1. 偽の突破リスク:価格が需要と供給の範囲内で波動し,偽の信号を生成する可能性があります.
  2. パラメータの感受性: パラメータの異なる設定により,取引結果が著しく異なる可能性があります.
  3. 市場環境依存: 激波や横断的な市場では不良な結果が出る可能性
  4. スライドポイントの影響:流動性が低い市場では,実際の取引価格がシグナル価格から大きく偏っている可能性があります.
  5. 過剰取引: 頻度の高い区間破裂が過剰取引に繋がる

戦略最適化の方向性

  1. 信号のフィルター:
    • 送付確認を追加する
    • 波動性指標のフィルター取引環境を導入する
  2. 動態パラメータ:
    • 市場変動による自主調整パラメータ
    • 適応移動平均を導入する
  3. リスク管理の最適化:
    • ダイナミックなポジション管理を実現
    • フィルターに損失を加える
  4. 市場環境の認識:
    • 市場状態分類システムを開発
    • 異なる市場状況で異なるパラメータ設定を使用する

要約する

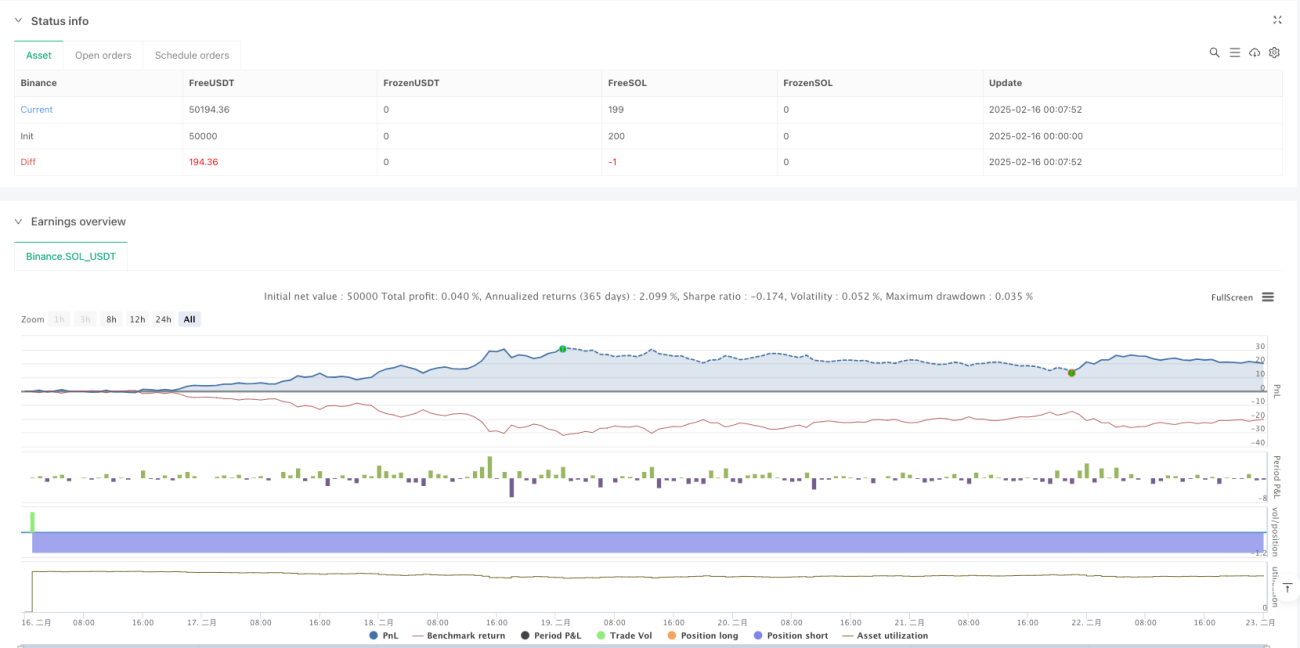
ダイナミック・サプライ・デマンド・区間の中線反転戦略は,技術分析の複数の次元を組み合わせた取引システムであり,供給・需要区間,トレンド,価格の形状を組み合わせて市場機会を捉えるためのものです. この戦略の核心的な優点は,明確な論理的枠組みと完善したリスク管理システムにあります. しかし,同時に,トレーダーは市場環境の変化に注意深く注目し,パラメータ設定を適時に調整する必要があります.

ストラテジーソースコード
/*backtest
start: 2025-02-16 00:00:00
end: 2025-02-23 00:00:00
period: 1m
basePeriod: 1m
exchanges: [{"eid":"Binance","currency":"SOL_USDT"}]
*/

// This Pine Script™ code is subject to the terms of the Mozilla Public License 2.0 at https://mozilla.org/MPL/2.0/
// © bommytarton

//@version=6
strategy("Midline Rejection Entry with TP/SL at Supply/Demand", overlay=true)

// User inputs for Swing Length and Length for Supply/Demand Zones
length = input.int(50, title="Swing Length", minval=1)
midlineLength = input.int(20, title="Midline Length for Trend", minval=1)  // Moving average length for trend

// Identify swing highs (Supply Zone) and swing lows (Demand Zone)
supplyZone = ta.highest(high, length) // Supply Zone (resistance)
demandZone = ta.lowest(low, length) // Demand Zone (support)

// Calculate the midpoint between supply and demand zones
midpoint = (supplyZone + demandZone) / 2

// Trend Detection: Use a simple moving average (SMA) for trend direction
smaTrend = ta.sma(close, midlineLength)

// Variables to store Supply/Demand Zones at the time of entry
var float entrySupplyZone = na
var float entryDemandZone = na
var float entryMidpoint = na

// Entry Conditions
// 1. Price in an uptrend (close above SMA)
longCondition = close > smaTrend and close < midpoint and close > open and open < close[1] and close[1] < open[1]

// 1. Price in a downtrend (close below SMA)
shortCondition = close < smaTrend and close > midpoint and close < open and open > close[1] and close[1] > open[1]

// Close any open trades before opening a new one
if (longCondition or shortCondition)
    strategy.close_all()

// Execute the entry logic
if (longCondition)
    entrySupplyZone := supplyZone  // Store Supply Zone for Take Profit
    entryDemandZone := demandZone  // Store Demand Zone for Stop Loss
    entryMidpoint := midpoint      // Store Midpoint
    strategy.entry("Long", strategy.long)
    label.new(bar_index, low, "Open Long", color=color.green, textcolor=color.white, style=label.style_label_up, size=size.small)

if (shortCondition)
    entrySupplyZone := supplyZone  // Store Supply Zone for Stop Loss
    entryDemandZone := demandZone  // Store Demand Zone for Take Profit
    entryMidpoint := midpoint      // Store Midpoint
    strategy.entry("Short", strategy.short)
    label.new(bar_index, high, "Open Short", color=color.red, textcolor=color.white, style=label.style_label_down, size=size.small)

// Define Take Profit and Stop Loss Levels for Long/Short Trades
if (strategy.opentrades > 0)
    // For Long trades, use Supply Zone for Take Profit and Demand Zone for Stop Loss
    if (strategy.position_size > 0)
        strategy.exit("Take Profit", "Long", limit=entrySupplyZone)  // Take Profit at Supply Zone
        strategy.exit("Stop Loss", "Long", stop=entryDemandZone)    // Stop Loss at Demand Zone


    // For Short trades, use Demand Zone for Take Profit and Supply Zone for Stop Loss
    if (strategy.position_size < 0)
        strategy.exit("Take Profit", "Short", limit=entryDemandZone)  // Take Profit at Demand Zone
        strategy.exit("Stop Loss", "Short", stop=entrySupplyZone)     // Stop Loss at Supply Zone


// Re-Plot Supply, Midpoint, and Demand Zones after Trade Closure
plot(supplyZone, title="Supply Zone", color=color.red, linewidth=2, style=plot.style_line)
plot(demandZone, title="Demand Zone", color=color.green, linewidth=2, style=plot.style_line)
plot(midpoint, title="Midpoint", color=color.blue, linewidth=1, style=plot.style_line)