Estratégia de reversão da linha média da faixa dinâmica de oferta e demanda

Visão geral
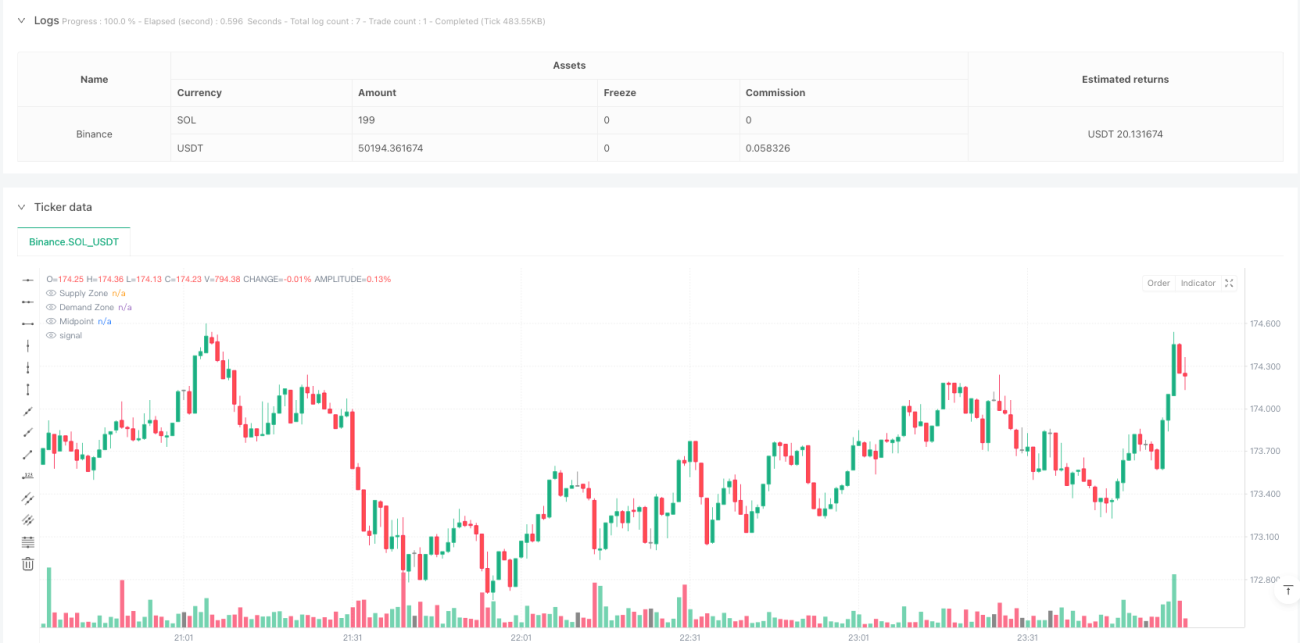
A estratégia é um sistema de negociação baseado no intervalo de oferta e demanda e na inversão da linha média, que funciona em um período de 5 minutos. Ela opera através da identificação de sinais de inversão quando a tendência retorna para a posição da linha média e configura um stop-loss em uma região de oferta e demanda predefinida. A estratégia combina a média móvel (SMA) para determinar a direção da tendência, identificando a região de oferta e demanda por meio de altos e baixos e usando o ponto médio da região como um importante nível de referência de preço.
Princípio da estratégia
A lógica central da estratégia inclui os seguintes elementos-chave:
- Determinação do intervalo de oferta e demanda: os preços máximos e mínimos dos ciclos personalizados do usuário (default 50 ciclos) são usados para determinar os pontos de oferta (resistência) e de demanda (apoio)
- Calculação da linha central: o ponto médio do intervalo de oferta e demanda é usado como um ponto de referência importante para a inversão de preços
- Determinação de tendências: determinação da direção da tendência atual usando uma média móvel simples (default 20 period)
- Condições de entrada:
- Multidimensional: Preços acima da média (trend ascendente) e tendência de baixa abaixo do ponto médio
- Cabeça vazia: preço abaixo da linha média (trend descendente) e um padrão de baixa acima do ponto médio
- Parar e parar de perder:
- Multi-cabeça: Stop Stop localizado na área de oferta, Stop Loss localizado na área de demanda
- Cabeça vazia: parada na área de demanda, parada na área de oferta
Vantagens estratégicas
- Claridade de lógica: combina tendências, estrutura de preços e configurações de gráficos para construir um sistema de negociação completo
- Gestão de risco perfeita: baseado na estrutura de mercado para a configuração de pontos de parada e de perda, de acordo com a lei do movimento de preços
- Adaptabilidade: pode ser ajustado com parâmetros para adaptar-se a diferentes condições de mercado
- Suporte de visualização: sinais de negociação e preços-chave são visualizados através de marcas e linhas
- Alto nível de automação: condições de entrada e saída claras, permitindo transações totalmente automatizadas
Risco estratégico
- Risco de Falsa Ressurreição: Os preços podem oscilar dentro da faixa de oferta e demanda, gerando falsos sinais
- Sensibilidade de parâmetros: diferentes configurações de parâmetros podem levar a resultados de transações significativamente diferentes
- Dependência do cenário de mercado: pode ter um desempenho fraco em mercados altamente voláteis ou horizontais
- Efeito de ponto de deslizamento: em mercados com pouca liquidez, o preço de transação real pode ter um grande desvio do preço de sinal
- Transações excessivas: frequentes rupturas de intervalos podem levar a transações excessivas
Direção de otimização da estratégia
- Filtragem de sinais:
- Adição de confirmação de entrega
- Introdução de indicadores de volatilidade para filtragem do ambiente de negociação
- Parâmetros dinâmicos:
- Parâmetros de adaptação baseados na volatilidade do mercado
- Introdução da média móvel adaptativa
- Otimização da Gestão de Riscos:
- Realize o gerenciamento dinâmico de posições
- Adicionar filtro de perda de peso
- Identificação do cenário de mercado:
- Desenvolvimento de um sistema de classificação do estado do mercado
- Usar configurações de parâmetros diferentes em diferentes estados de mercado
Resumir
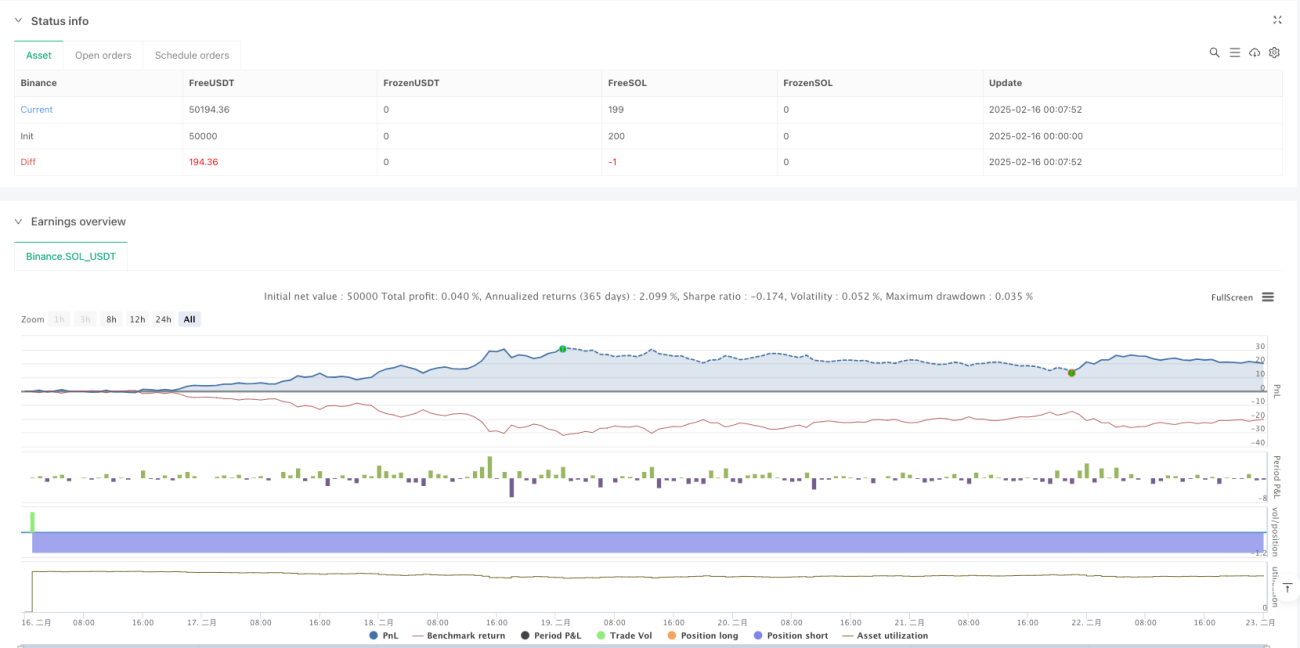
A estratégia de inversão de linha central do intervalo dinâmico de oferta e demanda é um sistema de negociação que combina várias dimensões da análise técnica para capturar oportunidades de mercado através da combinação de intervalo de oferta e demanda, tendências e configurações de preços. A vantagem central da estratégia reside no seu quadro lógico claro e no seu sistema de gestão de risco perfeito, mas também requer que os comerciantes acompanhem de perto as mudanças no ambiente do mercado e ajusten os parâmetros em tempo hábil.
- 1