متحرک سپلائی اور ڈیمانڈ رینج مڈ لائن ریورسل حکمت عملی

جائزہ
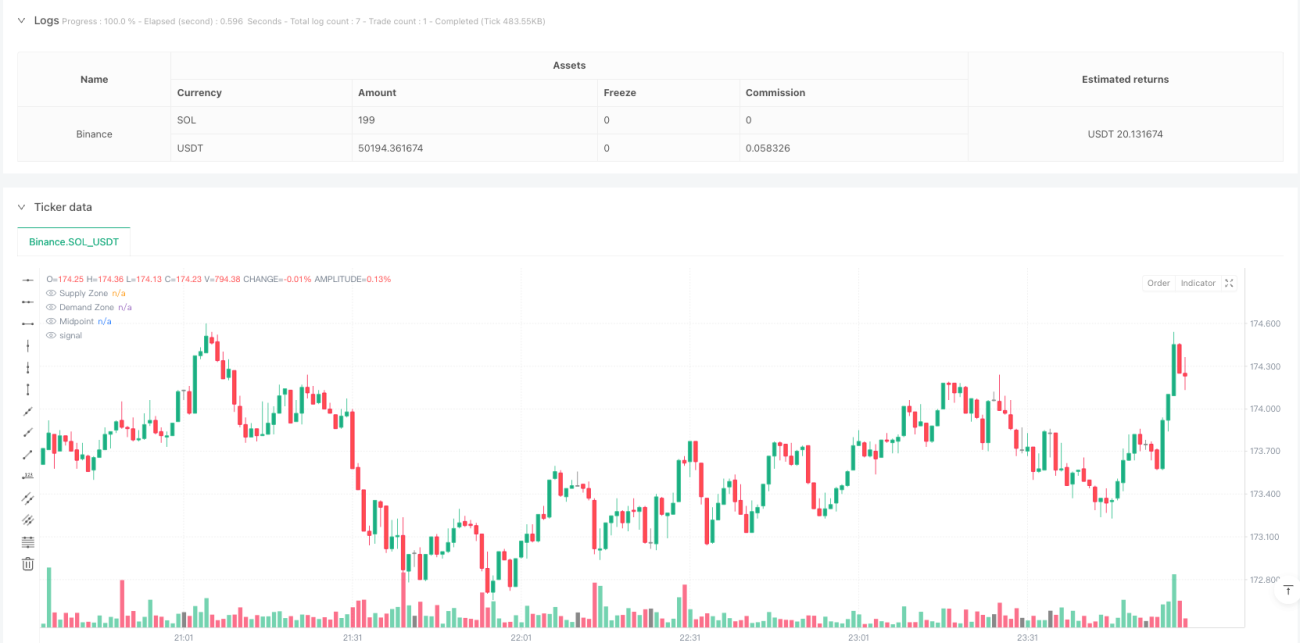
یہ حکمت عملی 5 منٹ کے ٹائم فریم پر چلنے والی ایک ٹریڈنگ سسٹم ہے جو سپلائی اور ڈیمانڈ کی حد اور درمیانی لائن کی الٹ پر مبنی ہے۔ یہ رجحان کی نشاندہی کرکے تجارت کرتا ہے جب رجحان درمیانی لائن کی پوزیشن پر واپس آجاتا ہے ، اور پہلے سے طے شدہ سپلائی اور ڈیمانڈ زون میں اسٹاپ نقصانات کا تعین کرتا ہے۔ حکمت عملی ایک حرکت پذیر اوسط ((SMA) کے ساتھ مل کر رجحان کی سمت کا تعین کرتی ہے ، اعلی اور کم کی حد کی شناخت کے ذریعہ فراہمی اور مطالبہ کی حد کو استعمال کرتے ہوئے ، حد کے وسط کو ایک اہم قیمت کے حوالہ کی سطح کے طور پر استعمال کرتی ہے۔
حکمت عملی کا اصول
حکمت عملی کی بنیادی منطق میں درج ذیل کلیدی عناصر شامل ہیں:
- فراہمی اور طلب کی حد کا تعین: سپلائی زون (مقاومت کا مقام) اور طلب زون (سپورٹ کا مقام) کا تعین کرنے کے لئے صارف کی اپنی مرضی کے مطابق سائیکل (ڈیفالٹ 50 سائیکل) کا استعمال کرتے ہوئے زیادہ سے زیادہ قیمت اور کم سے کم قیمت
- درمیانی حساب کتاب: سپلائی اور طلب کی حد کے وسط کو قیمتوں میں تبدیلی کے لئے ایک اہم ریفرنس پوزیشن کے طور پر استعمال کرنا
- رجحانات کا تعین: موجودہ رجحانات کی سمت کا تعین کرنے کے لئے سادہ منتقل اوسط ((ڈیفالٹ 20 دورانیہ) کا استعمال کریں
- داخلے کی شرائط:
- کثیر: قیمتیں اوسط سے اوپر ہیں ((مستقل رجحان) ، اور وسط پوائنٹ کے نیچے ایک bullish شکل ہے
- خالی سر: قیمتیں اوسط لائن سے نیچے ہیں ((مستقیم رجحان) ، اور وسط پوائنٹ سے اوپر بیعانہ ٹریڈنگ کی شکل ظاہر ہوتی ہے
- سٹاپ نقصان کی ترتیب:
- ملٹی ہیڈ: سپلائی زون میں سٹاپ اسٹاپ اور ڈیمانڈ زون میں سٹاپ نقصان
- خالی سر: سٹاپ ڈیمنڈ زون میں، سٹاپ نقصان سپلائی زون میں
اسٹریٹجک فوائد
- منطق کی وضاحت: رجحانات، قیمتوں کی ساخت اور گرافکس کے ساتھ ایک مکمل تجارتی نظام کی تعمیر
- بہتر خطرے کا انتظام: سٹاپ نقصان کی حد مارکیٹ کی ساخت کی بنیاد پر مقرر کی گئی ہے ، قیمتوں کی نقل و حرکت کے قوانین کے مطابق
- لچکدار: مختلف مارکیٹ کے حالات کے مطابق پیرامیٹرز کو ایڈجسٹ کیا جا سکتا ہے
- بصری معاونت: ٹریڈنگ سگنل اور اہم قیمتوں کو علامات اور لائنوں کے ذریعہ بصری طور پر دکھائیں
- اعلی درجے کی آٹومیشن: داخلے اور باہر نکلنے کی شرائط واضح ہیں ، مکمل طور پر خود کار طریقے سے تجارت ممکن ہے
اسٹریٹجک رسک
- جھوٹے بریک آؤٹ کا خطرہ: قیمتیں فراہمی اور طلب کی حدود میں گردش کر سکتی ہیں ، جس سے غلط سگنل پیدا ہوتے ہیں۔
- پیرامیٹر حساسیت: مختلف پیرامیٹرز کی ترتیبات نمایاں طور پر مختلف ٹرانزیکشن کے نتائج کا سبب بن سکتی ہیں
- مارکیٹ کے ماحول پر انحصار: شدید اتار چڑھاؤ یا افقی مارکیٹ میں خراب کارکردگی کا امکان
- سلائڈ پوائنٹ اثر: کم لیکویڈیٹی والے بازاروں میں ، اصل سودے کی قیمت سگنل کی قیمت سے زیادہ انحراف کا شکار ہوسکتی ہے
- زیادہ تجارت: بار بار وقفے وقفے سے ہونے والی خرابی سے زیادہ تجارت ہوسکتی ہے
حکمت عملی کی اصلاح کی سمت
- سگنل فلٹر:
- ٹرانسمیشن کی تصدیق شامل کریں
- فلٹریشن ٹریڈنگ ماحول میں اتار چڑھاؤ کے اشارے متعارف کرانے
- متحرک پیرامیٹر:
- مارکیٹ میں اتار چڑھاؤ کی بنیاد پر ایڈجسٹمنٹ پیرامیٹرز
- ایڈجسٹمنٹ منتقل اوسط متعارف کرایا
- رسک مینجمنٹ آپٹیمائزیشن:
- متحرک پوزیشن مینجمنٹ کا احساس کریں۔
- شامل کر دیا گیا ٹن نقصان کے مقابلے میں فلٹر
- مارکیٹ کے حالات کی شناخت:
- مارکیٹ کی حالت کی درجہ بندی کا نظام تیار کرنا
- مختلف مارکیٹ کے حالات میں مختلف پیرامیٹرز کی ترتیبات کا استعمال کریں
خلاصہ کریں۔
متحرک سپلائی ڈمانڈ بینڈ کے وسط لائن ریورسنگ حکمت عملی ایک تجارتی نظام ہے جو تکنیکی تجزیہ کی متعدد جہتوں کو جوڑتا ہے تاکہ مارکیٹ کے مواقع کو سپلائی ڈمانڈ بینڈ ، رجحانات اور قیمت کی شکل کے ساتھ مل کر پکڑ سکے۔ اس حکمت عملی کا بنیادی فائدہ اس کے واضح منطقی فریم ورک اور بہتر رسک مینجمنٹ سسٹم میں ہے ، لیکن اس کے ساتھ ہی تاجروں کو مارکیٹ کے ماحول میں ہونے والی تبدیلیوں پر گہری نظر رکھنے اور پیرامیٹرز کی ترتیب کو بروقت ایڈجسٹ کرنے کی ضرورت ہے۔ تجویز کردہ اصلاحی سمت کے ذریعہ ، حکمت عملی کی استحکام اور موافقت کو مزید فروغ دینے کی امید ہے۔
- 1