Chiến lược đảo ngược đường giữa cung cầu động

Tổng quan
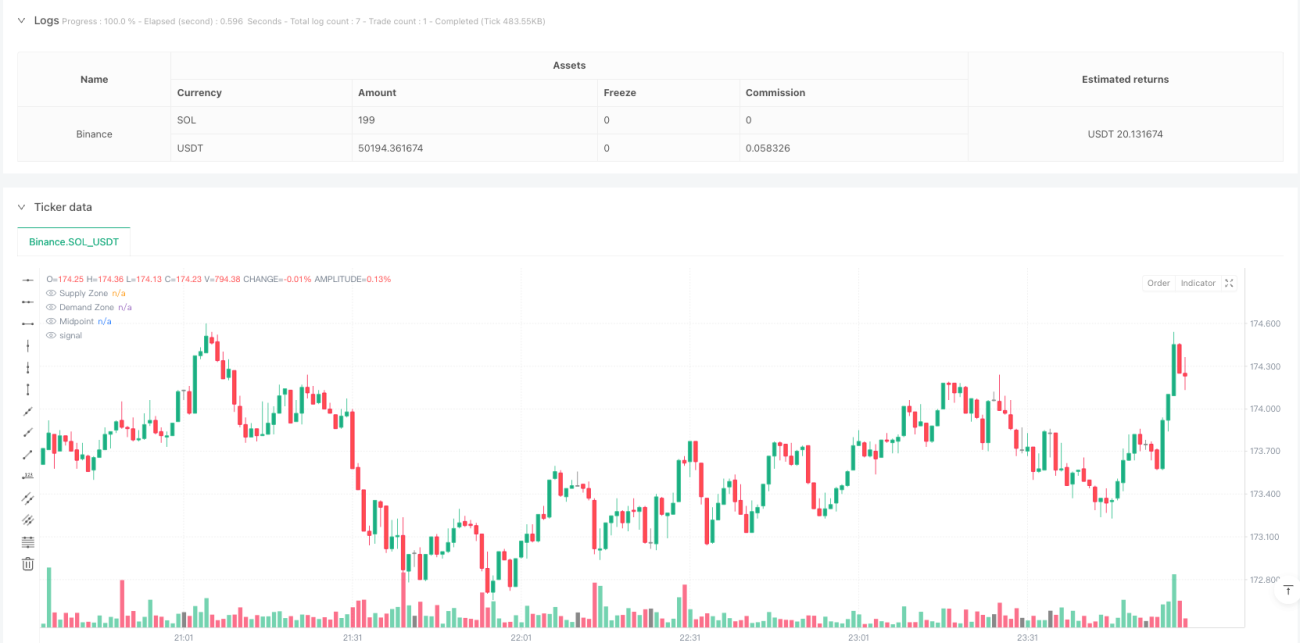
Chiến lược này là một hệ thống giao dịch dựa trên cung cấp và nhu cầu và đường trung tâm đảo ngược, hoạt động trên khung thời gian 5 phút. Nó giao dịch bằng cách nhận ra tín hiệu đảo ngược khi xu hướng quay trở lại vị trí đường trung tâm và đặt điểm dừng ở khu vực cung cấp và nhu cầu được xác định trước. Chiến lược kết hợp với đường trung bình di chuyển (SMA) để xác định hướng xu hướng, sử dụng điểm trung tâm của khu vực cung cấp và nhu cầu như một mức giá quan trọng.
Nguyên tắc chiến lược
Logic cốt lõi của chiến lược bao gồm các yếu tố chính sau:
- Xác định phạm vi cung ứng và nhu cầu: sử dụng giá cao nhất và giá thấp nhất theo chu kỳ tùy chỉnh của người dùng (bằng 50 chu kỳ mặc định) để xác định vùng cung ứng (bằng mức kháng cự) và vùng yêu cầu (bằng mức hỗ trợ)
- Tính trung bình: lấy điểm trung tâm của khoảng cung cầu làm điểm tham chiếu quan trọng cho sự đảo ngược giá
- Xác định xu hướng: sử dụng trung bình di chuyển đơn giản (từ 20 chu kỳ mặc định) để xác định xu hướng hiện tại
- Điều kiện tham gia:
- Nhiều đầu: Giá trên đường trung bình (trên xu hướng tăng) và hình dạng lạc quan ở dưới điểm trung bình
- Đầu trống: Giá nằm dưới đường trung bình (các xu hướng giảm) và có hình thức giảm giá ở phía trên điểm trung bình
- Cài đặt Stop Loss:
- Nhiều đầu: Stop Stop được đặt trong vùng cung cấp, Stop Loss được đặt trong vùng yêu cầu
- Đầu rỗng: dừng ở vùng yêu cầu, dừng ở vùng cung cấp
Lợi thế chiến lược
- Logical Clarity: kết hợp xu hướng, cấu trúc giá và hình dạng đồ thị để xây dựng một hệ thống giao dịch hoàn chỉnh
- Quản lý rủi ro: dựa trên cấu trúc thị trường thiết lập điểm dừng lỗ, phù hợp với quy luật chuyển động giá
- Khả năng thích ứng: có thể điều chỉnh thông qua các tham số để thích ứng với các môi trường thị trường khác nhau
- Hỗ trợ hình ảnh: hiển thị trực quan các tín hiệu giao dịch và giá quan trọng thông qua các dấu hiệu và đường
- Mức độ tự động hóa cao: Điều kiện nhập cảnh và xuất cảnh rõ ràng, giao dịch hoàn toàn tự động
Rủi ro chiến lược
- Rủi ro phá vỡ giả: Giá có thể dao động trong phạm vi cung cầu, tạo ra tín hiệu giả
- Tính nhạy cảm của tham số: các thiết lập tham số khác nhau có thể dẫn đến kết quả giao dịch khác nhau đáng kể
- Tùy thuộc vào môi trường thị trường: có thể hoạt động kém trong thị trường biến động mạnh hoặc thị trường ngang
- Tác động điểm trượt: Trong thị trường ít lưu động, giá giao dịch thực tế có thể lệch so với giá tín hiệu
- Quá giao dịch: Thường xuyên phá vỡ khoảng cách có thể dẫn đến quá giao dịch
Hướng tối ưu hóa chiến lược
- Màn lọc tín hiệu
- Thêm xác nhận giao hàng
- Tiếp theo, các chỉ số biến động sẽ được đưa vào môi trường giao dịch.
- Các tham số động:
- Các tham số điều chỉnh tự điều chỉnh dựa trên biến động thị trường
- Tiến hành chuyển động trung bình thích ứng
- Tối ưu hóa quản lý rủi ro:
- Thực hiện quản lý vị trí năng động
- Thêm bộ lọc so với lỗ hổng
- Xác định môi trường thị trường:
- Phát triển hệ thống phân loại tình trạng thị trường
- Sử dụng các thiết lập tham số khác nhau trong các tình trạng thị trường khác nhau
Tóm tắt
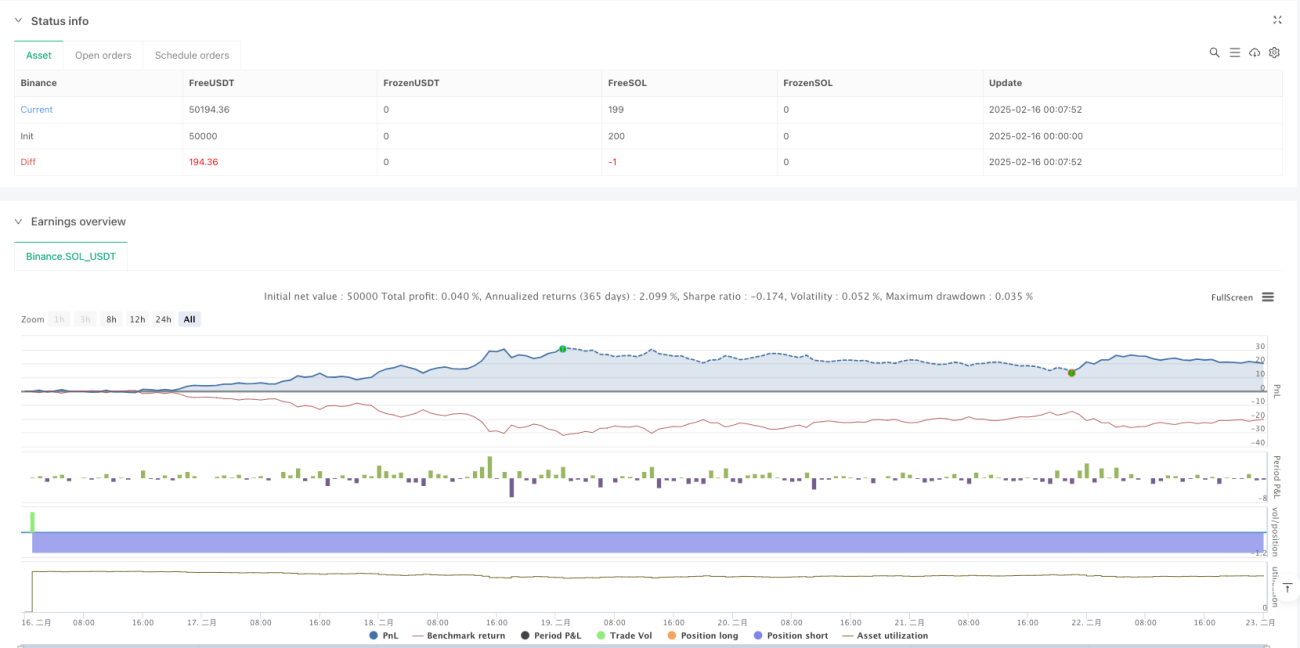
Chiến lược đảo ngược đường trung tâm của cung và nhu cầu động là một hệ thống giao dịch kết hợp nhiều chiều phân tích kỹ thuật để nắm bắt cơ hội thị trường bằng cách kết hợp cung và nhu cầu, xu hướng và hình dạng giá. Ưu điểm cốt lõi của chiến lược này là khung logic rõ ràng và hệ thống quản lý rủi ro hoàn thiện, nhưng đồng thời cũng đòi hỏi các nhà giao dịch phải theo dõi chặt chẽ sự thay đổi của môi trường thị trường và điều chỉnh các tham số đặt ra kịp thời.
- 1