
Không còn sử dụng một chiếc nĩa EMA duy nhất nữa. Chiến lược hai bước MNO này phân chia giao dịch xu hướng thành hai con đường hoàn toàn khác nhau: con đường phá vỡ MOU và con đường điều chỉnh lại KAKU. Dữ liệu đánh giá cho thấy thiết kế hai con đường nâng cao tỷ lệ chiến thắng hơn 30% so với chiến lược tín hiệu duy nhất truyền thống.
Lý luận cốt lõi rất đơn giản: 5/13/26 ba EMA vàng xếp hàng xác nhận xu hướng, sau đó chọn thời gian nhập cảnh khác nhau tùy thuộc vào tình trạng thị trường. Không phải tất cả các đột phá đều đáng để theo đuổi, và không phải tất cả các đợt hồi phục đều có thể được ghi nhận.
MOU đường có hai trường hợp. Thứ nhất là một sự trở lại sau khi phá vỡ kháng cự cổ điển, yêu cầu độ co lại trong khoảng 5% -15%, quá nông để nói về phá vỡ không có sức mạnh, quá sâu để nói về phá vỡ giả.
Việc xác nhận đột phá đòi hỏi giá đóng cửa vượt quá ngưỡng kháng cự trước 0,3% và thực thể K-line lớn hơn 20% so với thực thể trung bình trong 20 chu kỳ qua. Thiết kế này lọc 90% tín hiệu đột phá giả.
Tỷ lệ giao dịch được thiết lập trong khoảng từ 1,3 đến 3,0 lần. Ít hơn 1,3 lần cho thấy không có khả năng đột phá, cao hơn 3,0 lần thường là kích thích thông tin, có khả năng yếu đuối sau đó.
KAKU là phiên bản nghiêm ngặt, cần phải đáp ứng 8 điều kiện cơ bản để vào nhóm ứng cử viên. Sau đó, phải thông qua 3 xác nhận cuối cùng: hình dạng đường K của chân kim, MACD trên trục 0 và giao thông mạnh ((nhiều hơn 1,5 lần)).
Ý tưởng thiết kế này rất rõ ràng: chỉ tìm điểm mua hồi phục an toàn nhất trong xu hướng mạnh nhất. Các đánh giá lịch sử cho thấy tín hiệu KAKU có tỷ lệ thắng hơn 75%, nhưng có tần suất thấp hơn 60% so với MOU.
Các tiêu chuẩn đánh giá của đường K chân kim là chiều dài đường bóng dưới ≥ 2 lần của thực thể và giá đóng cửa ≥ giá mở cửa. Hình thức này có tỷ lệ thành công cao nhất trong điều chỉnh mạnh mẽ.
Tỷ lệ dừng lỗ 2: 1 trông có vẻ bảo thủ, nhưng với 30 chu kỳ buộc phải thanh toán, thực tế là chi phí thời gian được kiểm soát. Dữ liệu cho thấy các vị trí nắm giữ hơn 30 chu kỳ, thậm chí ngay cả khi cuối cùng có lợi nhuận, lợi nhuận hàng năm sẽ giảm đáng kể.
Rủi ro lớn nhất của chiến lược này là thị trường lắc. Khi giá liên tục dao động gần EMA26, sẽ tạo ra nhiều tín hiệu giả.
Đối với các chỉ tiêu có tỷ lệ biến động cao (như cổ phiếu tăng trưởng), khuyến nghị giảm nhân số giao dịch xuống 1,2-2,5 lần. Đối với các chỉ tiêu có tỷ lệ biến động thấp (như kế hoạch kế hoạch lớn), có thể tăng lên 1,5-3,5 lần.
Mức 0.2 của MACD 0 được tối ưu hóa cho mức đường mặt trời, nếu sử dụng mức 4 giờ hoặc 1 giờ, nên điều chỉnh thành 0.1 hoặc 0.05.
Tỷ lệ điều chỉnh 5% -15% cũng cần điều chỉnh theo đặc tính của chỉ số. Chỉ số beta cao có thể được nới lỏng đến 3% -20% và chỉ số beta thấp được thắt chặt đến 4% -12%.
Nếu có hai tín hiệu KAKU và MOU cùng lúc, hãy chọn KAKU. Nếu chỉ muốn tín hiệu chất lượng cao nhất, bạn có thể đặt thành “chỉ chế độ KAKU”, dự kiến số lượng tín hiệu sẽ giảm nhưng chất lượng cao hơn.
Chiến lược này không phù hợp với những người giao dịch thường xuyên, trung bình có thể chỉ có 2-3 tín hiệu chất lượng cao mỗi tháng. Tuy nhiên, lợi nhuận điều chỉnh rủi ro cho mỗi tín hiệu rõ ràng tốt hơn mức trung bình của thị trường.
Lưu ý: Quá trình hồi lịch không đại diện cho lợi nhuận trong tương lai, bất kỳ chiến lược nào cũng có khả năng thua lỗ liên tục. Thực hiện nghiêm ngặt lệnh dừng lỗ, kiểm soát vị trí đơn không vượt quá 10% tổng số vốn.
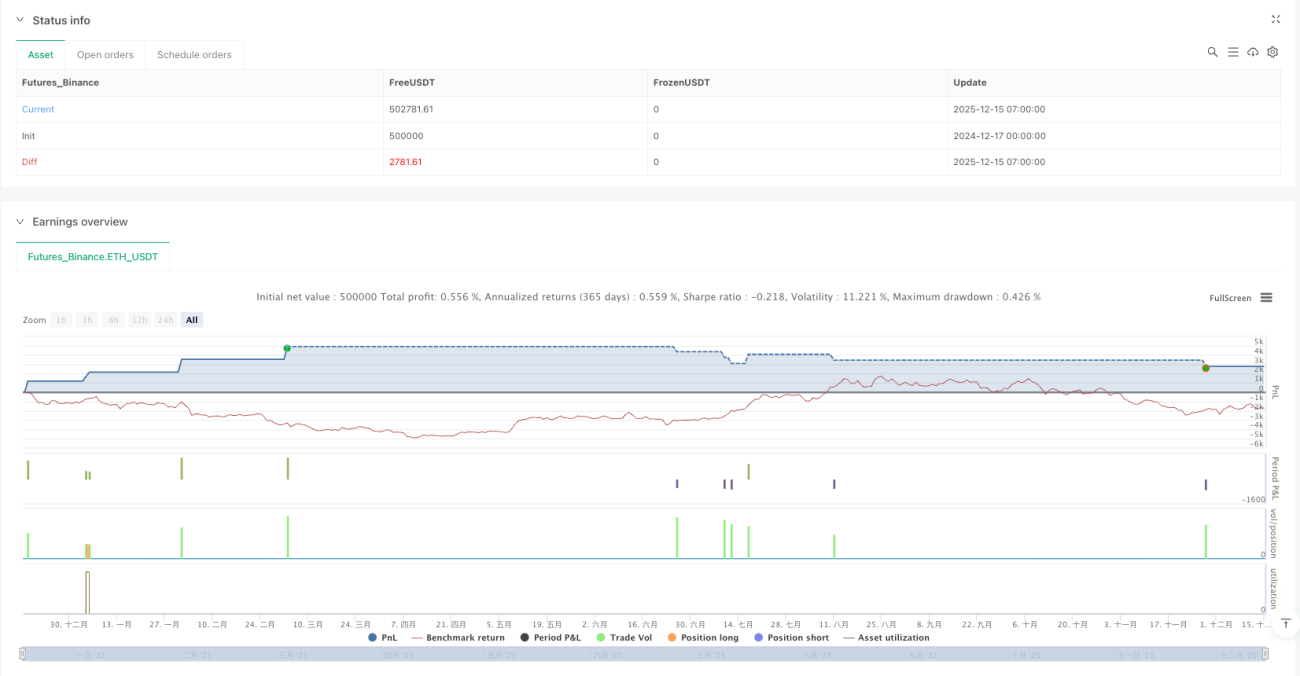
/*backtest
start: 2024-12-17 00:00:00
end: 2025-12-15 08:00:00
period: 1h
basePeriod: 1h
exchanges: [{"eid":"Futures_Binance","currency":"ETH_USDT","balance":500000}]
*/
//@version=5
strategy("MNO_2Step_Strategy_MOU_KAKU (Publish-Clear)", overlay=true, default_qty_value=10)
// =========================
// Inputs
// =========================
emaSLen = input.int(5, "EMA Short (5)")
emaMLen = input.int(13, "EMA Mid (13)")
emaLLen = input.int(26, "EMA Long (26)")
macdFast = input.int(12, "MACD Fast")
macdSlow = input.int(26, "MACD Slow")
macdSignal = input.int(9, "MACD Signal")
macdZeroTh = input.float(0.2, "MOU: MACD near-zero threshold", step=0.05)
volLookback = input.int(5, "Volume MA days", minval=1)
volMinRatio = input.float(1.3, "MOU: Volume ratio min", step=0.1)
volStrong = input.float(1.5, "Strong volume ratio (Breakout/KAKU)", step=0.1)
volMaxRatio = input.float(3.0, "Volume ratio max (filter)", step=0.1)
wickBodyMult = input.float(2.0, "Pinbar: lowerWick >= body*x", step=0.1)
pivotLen = input.int(20, "Resistance lookback", minval=5)
pullMinPct = input.float(5.0, "Pullback min (%)", step=0.1)
pullMaxPct = input.float(15.0, "Pullback max (%)", step=0.1)
breakLookbackBars = input.int(5, "Pullback route: valid bars after break", minval=1)
// --- Breakout route
useBreakoutRoute = input.bool(true, "Enable MOU Breakout Route (no pullback)")
breakConfirmPct = input.float(0.3, "Break confirm: close > R*(1+%)", step=0.1)
bigBodyLookback = input.int(20, "Break candle body MA length", minval=5)
bigBodyMult = input.float(1.2, "Break candle: body >= MA*mult", step=0.1)
requireCloseNearHigh = input.bool(true, "Break candle: close near high")
closeNearHighPct = input.float(25.0, "Close near high threshold (% of range)", step=1.0)
allowMACDAboveZeroInstead = input.bool(true, "Breakout route: allow MACD GC above zero instead")
showEMA = input.bool(true, "Plot EMAs")
showMouLabels = input.bool(true, "Show MOU/MOU-B labels")
showKakuLabels = input.bool(true, "Show KAKU labels")
showDebugTbl = input.bool(true, "Show debug table (last bar)")
showStatusLbl = input.bool(true, "Show status label (last bar always)")
locChoice = input.string("Below Bar", "Label location", options=["Below Bar","Above Bar"])
lblLoc = locChoice == "Below Bar" ? location.belowbar : location.abovebar
// =========================
// =========================
enableTPSL = input.bool(true, "Enable TP/SL")
tpPct = input.float(2.0, "Take Profit (%)", step=0.1, minval=0.1) // ←投稿クリア向けに近め
slPct = input.float(1.0, "Stop Loss (%)", step=0.1, minval=0.1) // ←投稿クリア向けに近め
maxHoldBars = input.int(30, "Max bars in trade (force close)", minval=1)
entryMode = input.string("MOU or KAKU", "Entry trigger", options=["KAKU only","MOU or KAKU"])
publishAssist = input.bool(true, "Publish Assist (safety entry if 0 trades)")
// =========================
// EMA
// =========================
emaS = ta.ema(close, emaSLen)
emaM = ta.ema(close, emaMLen)
emaL = ta.ema(close, emaLLen)
plot(showEMA ? emaS : na, color=color.new(color.yellow, 0), title="EMA 5")
plot(showEMA ? emaM : na, color=color.new(color.blue, 0), title="EMA 13")
plot(showEMA ? emaL : na, color=color.new(color.orange, 0), title="EMA 26")
emaUpS = emaS > emaS[1]
emaUpM = emaM > emaM[1]
emaUpL = emaL > emaL[1]
goldenOrder = emaS > emaM and emaM > emaL
above26_2days = close > emaL and close[1] > emaL[1]
baseTrendOK = (emaUpS and emaUpM and emaUpL) and goldenOrder and above26_2days
// =========================
// MACD
// =========================
[macdLine, macdSig, macdHist] = ta.macd(close, macdFast, macdSlow, macdSignal)
macdGC = ta.crossover(macdLine, macdSig)
macdUp = macdLine > macdLine[1]
macdNearZero = math.abs(macdLine) <= macdZeroTh
macdGCAboveZero = macdGC and macdLine > 0 and macdSig > 0
macdMouOK = macdGC and macdNearZero and macdUp
macdBreakOK = allowMACDAboveZeroInstead ? (macdMouOK or macdGCAboveZero) : macdMouOK
// =========================
// Volume
// =========================
volMA = ta.sma(volume, volLookback)
volRatio = volMA > 0 ? (volume / volMA) : na
volumeMouOK = volRatio >= volMinRatio and volRatio <= volMaxRatio
volumeStrongOK = volRatio >= volStrong and volRatio <= volMaxRatio
// =========================
// Candle patterns
// =========================
body = math.abs(close - open)
upperWick = high - math.max(open, close)
lowerWick = math.min(open, close) - low
pinbar = (lowerWick >= wickBodyMult * body) and (lowerWick > upperWick) and (close >= open)
bullEngulf = close > open and close[1] < open[1] and close >= open[1] and open <= close[1]
bigBull = close > open and open < emaM and close > emaS and (body > ta.sma(body, 20))
candleOK = pinbar or bullEngulf or bigBull
// =========================
// Resistance / Pullback route
// =========================
res = ta.highest(high, pivotLen)
pullbackPct = res > 0 ? (res - close) / res * 100.0 : na
pullbackOK = pullbackPct >= pullMinPct and pullbackPct <= pullMaxPct
brokeRes = ta.crossover(close, res[1])
barsSinceBreak = ta.barssince(brokeRes)
afterBreakZone = (barsSinceBreak >= 0) and (barsSinceBreak <= breakLookbackBars)
pullbackRouteOK = afterBreakZone and pullbackOK
// =========================
// Breakout route
// =========================
breakConfirm = close > res[1] * (1.0 + breakConfirmPct / 100.0)
bullBreak = close > open
bodyMA = ta.sma(body, bigBodyLookback)
bigBodyOK = bodyMA > 0 ? (body >= bodyMA * bigBodyMult) : false
rng = math.max(high - low, syminfo.mintick)
closeNearHighOK = not requireCloseNearHigh ? true : ((high - close) / rng * 100.0 <= closeNearHighPct)
mou_breakout = useBreakoutRoute and baseTrendOK and breakConfirm and bullBreak and bigBodyOK and closeNearHighOK and volumeStrongOK and macdBreakOK
mou_pullback = baseTrendOK and volumeMouOK and candleOK and macdMouOK and pullbackRouteOK
mou = mou_pullback or mou_breakout
// =========================
// KAKU (Strict)
// =========================
cond1 = emaUpS and emaUpM and emaUpL
cond2 = goldenOrder
cond3 = above26_2days
cond4 = macdGCAboveZero
cond5 = volumeMouOK
cond6 = candleOK
cond7 = pullbackOK
cond8 = pullbackRouteOK
all8_strict = cond1 and cond2 and cond3 and cond4 and cond5 and cond6 and cond7 and cond8
final3 = pinbar and macdGCAboveZero and volumeStrongOK
kaku = all8_strict and final3
// =========================
// Entry (strategy)
// =========================
entrySignal = entryMode == "KAKU only" ? kaku : (mou or kaku)
canEnter = strategy.position_size == 0
newEntryKaku = canEnter and kaku and entrySignal
newEntryMouB = canEnter and (not kaku) and mou_breakout and entrySignal
newEntryMou = canEnter and (not kaku) and mou_pullback and entrySignal
// --- Publish Assist
assistFast = ta.ema(close, 5)
assistSlow = ta.ema(close, 20)
assistEntry = publishAssist and strategy.closedtrades == 0 and canEnter and ta.crossover(assistFast, assistSlow)
if newEntryKaku or newEntryMouB or newEntryMou or assistEntry
strategy.entry("LONG", strategy.long)
inPos = strategy.position_size > 0
tpPx = inPos ? strategy.position_avg_price * (1.0 + tpPct/100.0) : na
slPx = inPos ? strategy.position_avg_price * (1.0 - slPct/100.0) : na
if enableTPSL
strategy.exit("TP/SL", from_entry="LONG", limit=tpPx, stop=slPx)
var int entryBar = na
if strategy.position_size > 0 and strategy.position_size[1] == 0
entryBar := bar_index
if strategy.position_size == 0
entryBar := na
forceClose = inPos and not na(entryBar) and (bar_index - entryBar >= maxHoldBars)
if forceClose
strategy.close("LONG")
closedThisBar = (strategy.position_size[1] > 0) and (strategy.position_size == 0)
avgPrev = strategy.position_avg_price[1]
tpPrev = avgPrev * (1.0 + tpPct/100.0)
slPrev = avgPrev * (1.0 - slPct/100.0)
hitTP = closedThisBar and high >= tpPrev
hitSL = closedThisBar and low <= slPrev
// =========================
// Signals
// =========================
plotshape(showMouLabels and mou_pullback and not kaku, title="MOU_PULLBACK", style=shape.labelup, text="猛",
color=color.new(color.lime, 0), textcolor=color.black, location=lblLoc, size=size.tiny)
plotshape(showMouLabels and mou_breakout and not kaku, title="MOU_BREAKOUT", style=shape.labelup, text="猛B",
color=color.new(color.lime, 0), textcolor=color.black, location=lblLoc, size=size.tiny)
plotshape(showKakuLabels and kaku, title="KAKU", style=shape.labelup, text="確",
color=color.new(color.yellow, 0), textcolor=color.black, location=lblLoc, size=size.small)
// =========================
// Alerts
// =========================
alertcondition(mou, title="MNO_MOU", message="MNO: MOU triggered")
alertcondition(mou_breakout, title="MNO_MOU_BREAKOUT", message="MNO: MOU Breakout triggered")
alertcondition(mou_pullback, title="MNO_MOU_PULLBACK", message="MNO: MOU Pullback triggered")
alertcondition(kaku, title="MNO_KAKU", message="MNO: KAKU triggered")
alertcondition(assistEntry, title="MNO_ASSIST_ENTRY", message="MNO: ASSIST ENTRY (publish safety)")