개요
이중 EMA 골드 크로스 흔들림 추적 전략은 EMA 지표를 사용하여 트렌드를 식별하고 흔들림 상황에서 추적하는 전략이다. 이 전략은 트렌드 추적과 흔들림 캡처의 아이디어를 통합하여 강한 상황에서 긴 선을 추적하고 흔들림 상황에서 짧은 선을 거래하여 더 나은 수익을 얻을 수 있습니다.
전략 원칙
이 전략은 20주기의 EMA를 트렌드를 판단하는 지표로 사용한다. 가격이 EMA를 넘어서면 가격이 상승하기 시작한다고 생각하며, 가격이 EMA를 넘어서면 가격이 하락하기 시작한다고 생각한다.
가격이 상위에서 EMA를 착용할 때, 20 주기highest의 최고 가격을 중지점으로, 가격이 상위에서 EMA를 착용한 후low의 최저 가격을 중지점으로, 더 많은 진입을 한다. 가격이 하위에서 EMA를 착용할 때, 20 주기lowest의 최저 가격을 중지점으로, 가격이 하위에서 EMA를 착용한 후high의 최고 가격을 중지점으로, 공백 진입한다.
동시에, 전략은 ADX가 30보다 크는지 여부를 판단한다. 트렌드가 충분히 명확한 때, 즉 ADX가 30보다 높을 때만 거래한다. 이것은 충격적인 상황에서 스톱 손실을 피할 수 있다.
포지션 보유 과정에서, 트레일 스톱은 시장의 실시간 상황에 따라 조정되어 더 많은 수익을 잠금합니다.
우위 분석
이 전략은 트렌드 추적과 쇼크 거래의 장점을 결합하여 트렌드 상황에서 더 많은 수익을 얻을 수 있으며, 쇼크 상황에서 더 안정적인 수익을 얻을 수 있습니다.
EMA의 적용은 또한 전략의 변수를 적게 만들고, 과도한 최적화의 위험을 줄여서 전략의 안정성을 보장한다.
위험 분석
이 전략의 주요 위험은 흔들림이 심해지면 더 많은 손실이 발생할 수 있다는 것입니다. 이 때 ADX의 역할이 강조됩니다. ADX 값이 낮을 때 거래가 닫히고, 명확한 추세가 없을 때 손실을 피합니다.
또한, 합리적으로 설정된 스톱로스 포인트도 중요합니다. 스톱로스 포인트가 너무 커지면 단독 손실이 증가할 수 있고, 스톱로스 포인트가 너무 작으면 너무 민감해져서 스톱로스 확률이 증가할 수 있습니다. 여기서 수익 목표와 스톱로스 위험 사이의 균형을 찾아야 합니다.
최적화 방향
이 전략은 다음과 같은 부분에서 최적화될 수 있습니다.
EMA 주기의 선택. 더 많은 EMA 주기의 변수를 테스트하여 최적의 변수 조합을 찾을 수 있습니다.
ADX의 매개 변수는 최적화할 수 있다. ADX 주기 및 ADX의 값은 다른 설정을 시도할 수 있다.
스톱 스톱 손실 알고리즘은 동적 스톱 스톱 손실을 도입하는 등의 개선이 가능하다.
KDJ, MACD 등과 같은 다른 지표들을 조합하여 다중 지표 검증 전략을 형성하는 것을 고려할 수 있다.
요약하다
이중 EMA 골드 크로스 흔들림 추적 전략은 전체적으로 매우 실용적인 전략이다. 그것은 트렌드 전략과 흔들림 전략의 특성을 결합하고, 장선 추적과 단선 거래에 사용할 수 있다. 매개 변수 최적화 및 조합 지표 검증으로 이 전략의 효과는 더욱 향상될 수 있다.
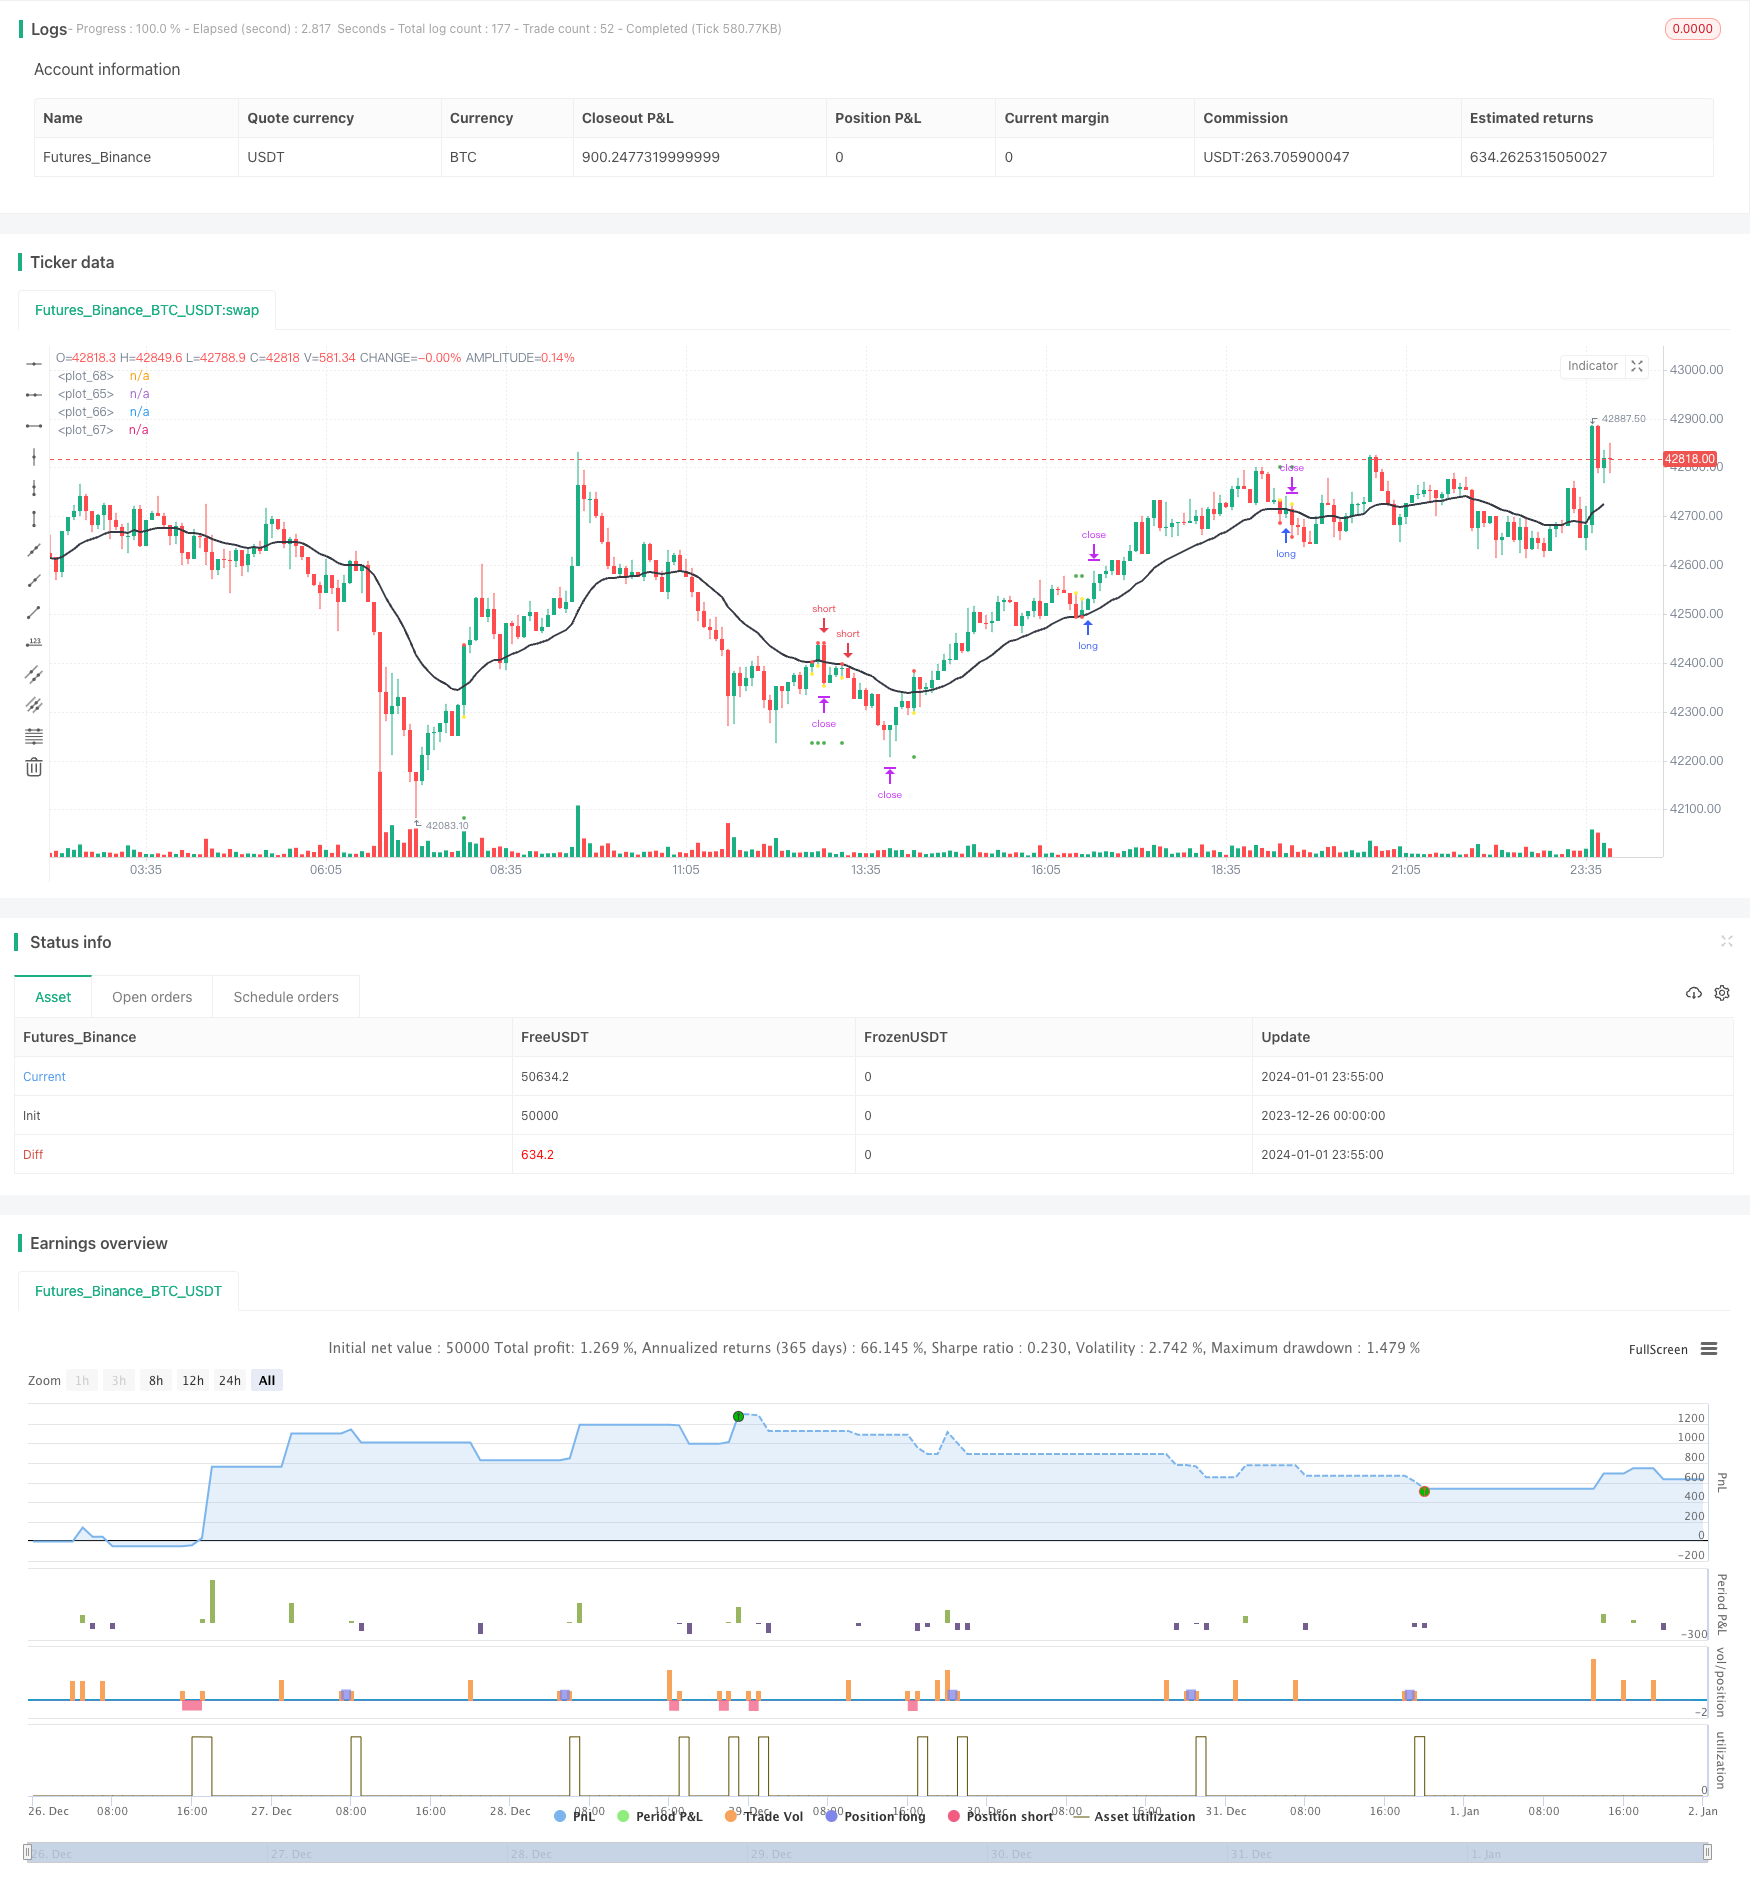
/*backtest
start: 2023-12-26 00:00:00
end: 2024-01-02 00:00:00
period: 5m
basePeriod: 1m
exchanges: [{"eid":"Futures_Binance","currency":"BTC_USDT"}]
*/

//@version=2
strategy("Linda Raschke's Holy Grail", shorttitle="RHG", default_qty_type = strategy.percent_of_equity, default_qty_value = 100, overlay = true)
adxlen = input(14, title="ADX period")
adxMin = input(30)
dilen = adxlen
f_highest(_src, _length)=>
    _adjusted_length = _length < 1 ? 1 : _length
    _value = _src
    for _i = 0 to (_adjusted_length-1)
        _value := _src[_i] >= _value ? _src[_i] : _value
    _return = _value

f_lowest(_src, _length)=>
    _adjusted_length = _length < 1 ? 1 : _length
    _value = _src
    for _i = 0 to (_adjusted_length-1)
        _value := _src[_i] <= _value ? _src[_i] : _value
    _return = _value

dirmov(len) =>
	up = change(high)
	down = -change(low)
	plusDM = na(up) ? na : (up > down and up > 0 ? up : 0)
    minusDM = na(down) ? na : (down > up and down > 0 ? down : 0)
	truerange = rma(tr, len)
	plus = fixnan(100 * rma(plusDM, len) / truerange)
	minus = fixnan(100 * rma(minusDM, len) / truerange)
	[plus, minus]

adx(dilen, adxlen) =>
	[plus, minus] = dirmov(dilen)
	sum = plus + minus
	adx = 100 * rma(abs(plus - minus) / (sum == 0 ? 1 : sum), adxlen)

emaLength = input(20)
curEma = ema(close, emaLength)
highPeriod = input(20)
d = na

takeProfitLong = highest(high, highPeriod)
stopLossLong = f_lowest(low, barssince(low >= curEma))

if strategy.position_size == 0
    if adx(dilen, adxlen) <= adxMin or high < curEma
        strategy.cancel("Long")
    if adx(dilen, adxlen) > adxMin and low < curEma and high > curEma and curEma > curEma[highPeriod / 2] and curEma > curEma[highPeriod] and takeProfitLong > high
        strategy.order("Long", strategy.long, stop = high)
        strategy.exit("Exit", "Long", limit = takeProfitLong, stop = stopLossLong)
        d := high

takeProfitShort = lowest(low, highPeriod)
stopLossShort = f_highest(high, barssince(high <= curEma))

if strategy.position_size == 0
    if adx(dilen, adxlen) <= adxMin or low > curEma
        strategy.cancel("Short")
    if adx(dilen, adxlen) > adxMin and high > curEma and low < curEma and curEma < curEma[highPeriod / 2] and curEma < curEma[highPeriod] and takeProfitShort < low
        strategy.order("Short", strategy.short, stop = low)
        strategy.exit("Exit", "Short", limit = takeProfitShort, stop = stopLossShort)
        d := low


strategy.close("Exit")

plot(d == high ? stopLossLong : d == low ? stopLossShort : na, style = circles, linewidth = 4, color = red)
plot(d == high ? takeProfitLong : d == low ? takeProfitShort : na, style = circles, linewidth = 4, color = green)
plot(d, style = circles, linewidth = 4, color = yellow)
plot(curEma, color = black, linewidth = 2)

// === Backtesting Dates ===
testPeriodSwitch = input(false, "Custom Backtesting Dates")
testStartYear = input(2018, "Backtest Start Year")
testStartMonth = input(3, "Backtest Start Month")
testStartDay = input(6, "Backtest Start Day")
testStartHour = input(08, "Backtest Start Hour")
testPeriodStart = timestamp(testStartYear,testStartMonth,testStartDay,testStartHour,0)
testStopYear = input(2018, "Backtest Stop Year")
testStopMonth = input(12, "Backtest Stop Month")
testStopDay = input(14, "Backtest Stop Day")
testStopHour = input(14, "Backtest Stop Hour")
testPeriodStop = timestamp(testStopYear,testStopMonth,testStopDay,testStopHour,0)
testPeriod() =>
    time >= testPeriodStart and time <= testPeriodStop ? true : false
isPeriod = testPeriodSwitch == true ? testPeriod() : true
// === /END
if not isPeriod
    strategy.cancel_all()
    strategy.close_all()